
🔥 NEW: Save up to 30% on the Best Calisthenics Apps‼️

Get the Deals!

6-Minute Joint Warm-Up Routine for Calisthenics
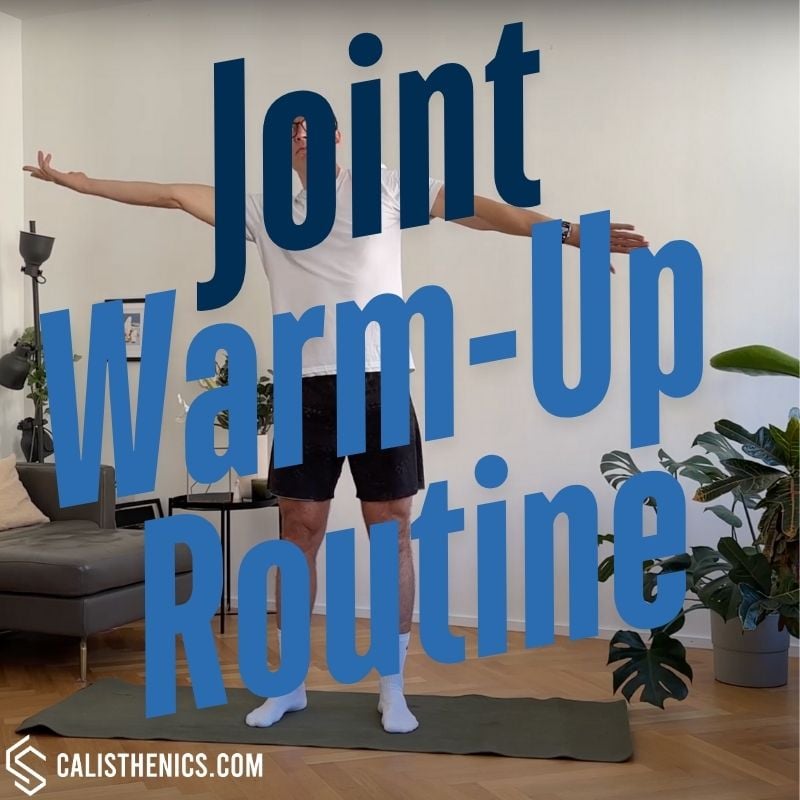
How to do 6-Minute Joint Warm-Up Routine for Calisthenics?

I use this six-minute joint warm-up before almost every calisthenics workout. It takes me through the major joints from the neck down to the ankles, helping me move out of the stiffness of daily life and into a more focused training state.

The routine is simple, requires no equipment and works well before push, pull, leg and full-body workouts. It is particularly useful for calisthenics because our joints regularly have to tolerate extended-arm support, hanging, deep joint angles and large ranges of motion. Handstands and planche work place significant demands on the wrists and shoulders, while pull-ups, dips, muscle-ups and lever training require controlled movement around the shoulders, elbows and shoulder blades.

I treat this routine as the joint-mobility part of my warm-up rather than a guaranteed form of injury prevention. Before a demanding strength, skill or explosive workout, I follow it with easier versions of the movements I am about to train. For example, I might add wrist rocks and scapula push-ups before handstand practice, or scapular pulls and easy pull-up repetitions before a pulling workout.

The objective is not to stretch every joint as far as possible. I begin with small, comfortable movements and gradually increase the range as my body warms up. The entire routine should feel light and controlled. It should leave me feeling more prepared for training, not tired.

If a movement produces sharp pain, pinching, dizziness, numbness or a feeling of instability, I stop rather than trying to force my way through it. A warm-up can reveal how my body feels that day, but it is not a test that I need to pass at any cost.

I perform the routine from the top of my body downward. This order is not physiologically essential, but it gives me a simple sequence that is easy to remember: neck, shoulders, arms, elbows, wrists, hips, knees and ankles.

I generally perform 8–10 controlled repetitions in each direction, or spend approximately 15–20 seconds on each movement. When I feel particularly cold or stiff, I begin with two or three minutes of brisk walking, marching in place or light jumping jacks before starting the joint circles.

Throughout the routine, I breathe normally, keep unnecessary tension out of my face and shoulders, and move slowly enough to remain in control.

Neck Warm-Up

neck warm up exercises

I begin by standing tall with my shoulders relaxed and my chin approximately level with the floor.

First, I slowly turn my head to look to the left and then to the right. I only move as far as I can without rotating my shoulders or forcing the end position. Next, I gently tilt my head toward each shoulder while keeping the opposite shoulder down. I finish with several small nodding movements, looking slightly down and then returning to a neutral position.

I use a particularly careful range around the neck. I do not throw my head backward, use momentum or force large circles through uncomfortable positions. The goal is simply to introduce smooth, controlled movement.

Shoulder Circles

shoulder circles with shrugs

I let my arms hang comfortably beside my body and begin making large circles with my shoulders.

I lift my shoulders gently toward my ears, move them backward, draw them down and then bring them forward to complete the circle. After 8–10 repetitions, I reverse the direction.

I try to feel my shoulder blades moving around my rib cage rather than performing small, hurried shrugs. I keep my neck relaxed and avoid forcing the shoulders into an exaggerated position.

Shoulder circles are a useful starting point before push-ups, dips, pull-ups, handstands and overhead movements, but I still use more specific shoulder preparation before demanding working sets.

Arm Circles

large arm circles

I extend both arms out to the sides with my elbows straight but not forcefully locked.

I begin with small forward circles and gradually increase their size as the movement starts to feel more comfortable. After completing 8–10 repetitions, I reduce the size again and repeat the sequence in the opposite direction.

I keep my torso stable and my ribs under control. If I have to arch my lower back or lean my body to complete the circle, I know that I am trying to use more shoulder range than I can currently control.

I do not begin with fast, maximal arm circles. Starting small and gradually expanding the movement helps me keep the exercise smooth and controlled.

Elbow and Forearm Warm-Up

elbow circles warm up

I hold my arms in front of my body or slightly out to the sides and bend and straighten my elbows several times.

I then make controlled circular movements with my forearms while keeping my upper arms relatively steady. I finish by turning my palms upward and downward to include forearm rotation.

I avoid snapping aggressively into elbow lockout or throwing my hands around with momentum. The movement should come primarily from the elbows and forearms rather than turning into another large shoulder circle.

I give this part of the warm-up particular attention before dips, push-ups, pull-ups, muscle-ups and straight-arm skills because these exercises can place substantial demands on the elbows and surrounding muscles.

Wrist Circles

standing wrist circles warm up

I bring my forearms in front of my body with my elbows bent. I either make relaxed fists or keep my fingers gently extended.

From this position, I circle both wrists slowly through a comfortable range. I complete approximately 10 repetitions in one direction before reversing the movement. I then open and close my hands several times to move the fingers and lightly activate the forearms.

I keep the movement controlled and avoid pulling forcefully on my hands. If one direction feels noticeably stiffer, I reduce the range instead of trying to force both wrists to move identically.

Wrist circles are a useful general preparation, but they do not fully prepare my wrists for supporting body weight in a deeply extended position. Before handstands, planche training, floor push-ups or other demanding hand-supported exercises, I continue with a dedicated weight-bearing wrist warm-up.

Hip Circles

pelvic hula circles

I stand with my feet approximately shoulder-width apart, keep my knees softly bent and place my hands on my hips.

I move my pelvis forward, toward one side, backward and then toward the opposite side to create a smooth circle. I complete 8–10 circles before reversing direction.

I keep both feet planted and try to let the movement come from my pelvis and hips. My upper body can move naturally, but I avoid turning the exercise into a large torso sway while my hips remain almost stationary.

I use a range that feels smooth and comfortable. If I feel pinching in the front of the hip or have to exaggerate the arch in my lower back, I make the circles smaller.

Knee Circles

knee circles

I bring my feet and knees comfortably close together, bend my knees slightly and rest my hands just above them for support.

I make small, slow circles with both knees, completing approximately eight repetitions before changing direction. I keep the movement gentle and distribute my weight evenly through my feet.

I do not try to create the largest possible circle. The knees are not being trained under meaningful load here; I am simply introducing controlled movement before progressing to more specific lower-body exercises.

Before a squat, lunge or leg workout, I follow the circles with controlled bodyweight squats, reverse lunges or easier versions of the first exercise in my session.

Ankle Circles

ankle circles warm up

I shift my weight onto one leg and lift the opposite foot slightly from the floor. If necessary, I hold a wall, pull-up station or another stable object for balance.

I draw slow circles with my toes while keeping my lower leg relatively still. I perform approximately 10 circles in each direction before changing legs.

I try to make every part of the circle smooth. If my whole leg is swinging around, I slow down and reduce the size of the movement so that it comes primarily from the ankle.

Ankle circles are useful general preparation, but they may not be enough before deep squats, single-leg exercises, running or jumping. For those workouts, I add movements such as ankle rocks, calf raises and progressively deeper squat repetitions.

How I Finish the Warm-Up

After completing the joint routine, I check whether the movements feel smoother than they did at the beginning. I should be able to use a comfortable working range without sharp pain, and I should feel more alert without experiencing fatigue.

I then prepare more specifically for the workout ahead:

  • Before a pushing workout: After preparing my wrists, I add scapula push-ups and two or three progressively harder sets of the pushing exercise I plan to train. This helps me move from general joint mobility toward the exact shoulder-blade and pressing actions required for push-ups, dips, handstands or planche work.
  • Before a pulling workout: I add controlled scapular pulling work, an easy row or an assisted pulling exercise. When I have a resistance band available, I may use resistance-band scapula pull-downs to rehearse controlled shoulder-blade depression before progressing to pull-ups, muscle-ups or lever training.
  • Before a leg workout: I continue with progressively deeper straight-arm squats, reverse lunges and any additional ankle preparation required for the range of motion I intend to use. I begin with an easy depth and increase it only as the movements become smoother.
  • Before explosive or full-body training: If I still feel cold, I use light jumping jacks or another simple whole-body movement to raise my body temperature. I then rehearse the main exercise at a lower speed and intensity before progressing toward maximal effort.

The joint warm-up gives me a consistent starting point, but I adapt the final part to the demands of each session. The more difficult, explosive or technically demanding the workout is, the more important this movement-specific preparation becomes.

Tips for the proper execution of 6-Minute Joint Warm-Up Routine for Calisthenics

  • Start with a small range of motion and enlarge it only when the movement feels smooth.

  • Move slowly enough to control every part of each circle.

  • Keep your breathing relaxed and avoid unnecessary tension in your jaw, neck and shoulders.

  • Use a wall or stable object for balance during the ankle section if necessary.

  • Spend additional time on the joints that will carry the greatest load in the upcoming workout.

  • Stop or reduce the range if a movement causes sharp, pinching or radiating pain.

  • Keep the routine light enough that it does not create fatigue before training.

  • Follow the routine with progressively harder versions of the exercises you are about to perform.

  • Do not force both sides into identical ranges when one side feels temporarily stiffer.

  • Judge readiness by movement quality and control rather than by how far you can stretch.

Muscles worked when doing 6-Minute Joint Warm-Up Routine for Calisthenics

The Joint Warm-Up Routine is a low-intensity, full-body movement sequence rather than a strength exercise with one primary muscle group. Different muscles work lightly to move and stabilize each joint.

  • Neck: Cervical flexors, extensors and lateral flexors control the head movements.
  • Shoulders and arms: The deltoids, rotator-cuff muscles, trapezius, serratus anterior and other scapular muscles guide the shoulder and shoulder-blade movements.
  • Elbows, forearms and wrists: The elbow flexors and extensors, forearm rotators, wrist flexors and wrist extensors control the upper-limb circles.
  • Hips: The glutes, hip flexors, adductors, abductors and deep hip rotators contribute to the pelvic and hip movements.
  • Knees: The quadriceps, hamstrings and lower-leg muscles lightly control the knee movements.
  • Ankles: The calf muscles and the muscles at the front and sides of the lower leg control the ankle circles.
  • Trunk: The abdominal, oblique and spinal muscles maintain balance and posture throughout the standing sequence.

The level of muscular loading is intentionally low. Activation and progressive loading should continue during the workout-specific phase of your warm-up.

Primary Muscle(s):

Secondary Muscle(s):

Equipment needed for 6-Minute Joint Warm-Up Routine for Calisthenics

No equipment needed for this exercise.

Adjust the difficulty of 6-Minute Joint Warm-Up Routine for Calisthenics

Adjust the difficulty of these movements based on your fitness level by modifying the speed and range of motion. Beginners or those with limited joint mobility can start with smaller, slower circles, gradually expanding the movements as comfort and flexibility improve. More experienced athletes can increase the range of motion and add slightly faster or more dynamic movements once adequately warmed up, ensuring the joints remain safely challenged.

How to make 6-Minute Joint Warm-Up Routine for Calisthenics harder?

To make 6-Minute Joint Warm-Up Routine for Calisthenics harder:

  • Complete a second controlled round when training in a cold environment.

  • Gradually increase the active range without forcing the end position.

  • Follow wrist circles with controlled weight-bearing wrist rocks.

  • Follow shoulder circles with scapular push-ups, scapular pulls or band activation.

  • Follow hip, knee and ankle circles with squats, lunges and calf raises.

  • Add two or three progressively harder warm-up sets of the first main exercise.

  • Use low-intensity skill repetitions before explosive or technically demanding work.

How to make 6-Minute Joint Warm-Up Routine for Calisthenics easier?

To make 6-Minute Joint Warm-Up Routine for Calisthenics easier:

  • Perform the neck, shoulder, arm and wrist movements while seated.

  • Hold a wall or stable object during the hip, knee and ankle movements.

  • Begin with three to five repetitions in each direction.

  • Use a smaller range of motion around stiff or sensitive joints.

  • Omit a movement that produces pain rather than repeatedly testing it.

  • March gently in place instead of using jumping jacks to raise body temperature.
