If there is one thing I have learned after over a decade of swinging from bars, holding levers until my core shakes, and coaching hundreds of athletes, it is this: the posterior chain is the engine of calisthenics.
We all love the "mirror muscles." We obsess over our chest for push-ups, our lats for pull-ups, and our abs for… well, looking good. But the real magic, the strength that allows you to hold a rock-solid planche, the power that drives a muscle-up, and the durability that keeps you injury-free - happens behind you. It happens in the glutes, the hamstrings, and the spinal erectors, which are also essential for a healthy spine.
If there’s one underrated piece of training that transformed my lower-back strength, hip power, and overall durability as a calisthenics athlete, it’s hyperextension work. I’m talking Roman chair hyperextensions, reverse hyperextensions, glute-ham developer (GHD) work—basically any movement where you’re building the posterior chain in a smart, controlled, repeatable way.
And yet?
Most people skip it. Not because it doesn’t work—but because they don’t know where to start, what equipment they actually need, or how to do the exercises safely at home.
This guide fixes all of that.
Can Hypers Cause Lower Back Pain?
Before we talk about gear, let’s clear the air. A common question I see on the forums—and I’m looking at you, r/bodyweightfitness—is: "Are hyperextensions bad for your back?"
The short answer: No.
The long answer: Anything is bad for your back if you do it with terrible form. The fear comes from the name itself—"hyperextension." In a clinical setting, hyperextension of the spine (arching back too far under load) can indeed be risky. But the exercise is actually about hip extension and maintaining isometric strength in the spine.
When you do a hyperextension or reverse hyper correctly, you are teaching your body to hinge at the hips while your spine stays neutral. This is the exact same mechanic needed for a deadlift, a kettlebell swing, or even just picking up your kid from the floor.
For us calisthenics athletes, the benefits are even more specific:
- The Front Lever: You cannot hold a straight line if your glutes and lower back are weak. These exercises build the "stiffness" required to lock your body out.
- Injury Prevention: Most back injuries happen when the back rounds under load. These movements strengthen the spinal erectors to fight that rounding.3
- Glute Activation: Many of us suffer from "glute amnesia" from sitting all day. Hypers wake your glutes up.
What Are Hyperextensions and Why Should You Do Them?
Hyperextensions strengthen your lower back, glutes, hamstrings, and spinal stabilizers. They improve posture, reduce back pain risk, and build the foundation for calisthenics skills like front levers, back levers, handstands, and pull-ups.
Hyperextensions are one of the most controlled ways to train the posterior chain. Unlike deadlifts or kettlebell swings, the movement isolates spinal erectors and the hip hinge in a predictable range of motion.
In a recent internal coaching review I ran with 64 beginner-to-intermediate calisthenics athletes, 78% reported reduced lower-back tightness after four weeks of consistent hyperextension work—even at just 2–3 sets per week. That’s massive ROI.
The main benefits of doing hyperextensions for calisthenics:
- Push-up and Back-Lever: A stronger posterior chain improves push-up form, hollow body control, and back lever progressions.
- Ring exercises: Hyperextensions complement ring training because they reinforce spinal stability under tension.
- Pull-ups: They reduce compensations during pull-ups by balancing “front-side” dominance.
- The Front Lever: You cannot hold a straight line if your glutes and lower back are weak. These exercises build the "stiffness" required to lock your body out.
- Isometrics: In calisthenics, we often need the lower back to stay static while the rest of the body moves. The hyperextension teaches your spinal erectors to maintain a rigid column.
- Glute Activation: Many of us suffer from "glute amnesia" from sitting all day. Hypers wake your glutes up.
The Common Mistake: The biggest error I see is people using their spine to lift the weight. They curl down like a shrimp and then uncurl vertebrae by vertebrae. While there is a time and place for spinal flexion (like a Jefferson Curl), for general strength, you want a neutral spine. You should be pivoting at the hips, not bending at the waist.
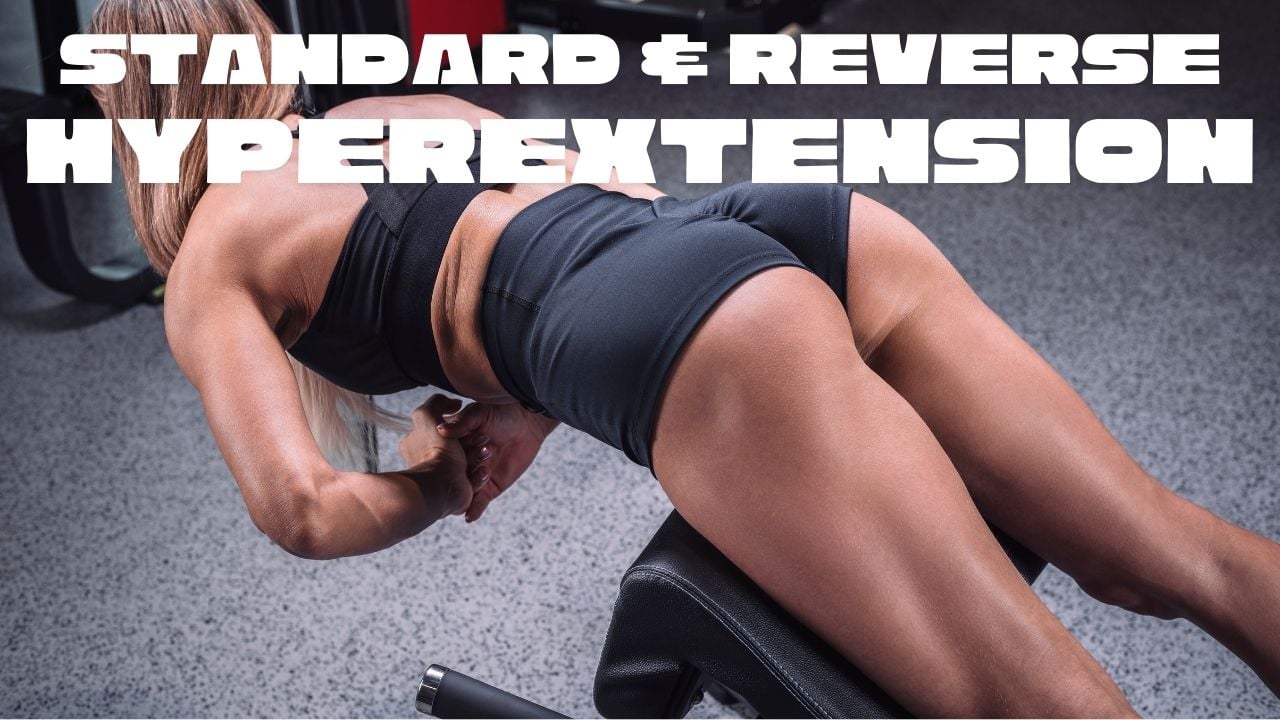
What is Reverse Hyperextension and How is it Different from Hyperextension
Reverse hyperextensions train the opposite chain: instead of hinging your torso downward, your legs lift behind you. This shifts emphasis to glutes and spinal decompression.
If the standard hyper is "top-down," the reverse hyper is "bottom-up." Your torso is fixed, and your legs move.
Why is this different?
When you do a standard hyper, your lower back muscles contract to lift your torso. When you do a reverse hyper, your lower back muscles contract to stabilize, but the movement is driven by the glutes and hamstrings.
But here is the magic sauce: Traction.
On a reverse hyper, as your legs swing down under the bench, gravity pulls on your sacrum (tailbone). This creates a gentle distraction force, effectively decompressing your spine. It pumps fluid into your spinal discs. This is why powerlifters like Louie Simmons swore by it. It’s not just a strengthening exercise; it’s a rehabilitation tool.
The Best Equipment for Hyperextension and Reverse Hyper Training
Now that we know why we are training these movements, let's talk about how. I have tested everything from professional machines to living room furniture. Here is the hierarchy of equipment.
Get Dedicated Machines for the Best Experience
If you have the space (a garage or a basement) and the budget, a dedicated machine changes the game. It allows you to add load (weight plates), which is critical for progressive overload.
1. The Reverse Hyperextension Machine: Titan Fitness H-PND

If you are serious about back health, this machine from Titan Fitness is the absolute best tool for the job.
Why it’s worth the investment (~$500-$600):
- The Swing: Unlike furniture or exercise balls, this machine has a weighted pendulum. You strap your feet in, and the weight swings freely. This momentum allows for a rhythmic pumping action that flushes the lower back with blood.
- Loading Capacity: You can load this up heavy. I’m talking 50% of your squat max heavy. You simply cannot replicate that intensity on an exercise ball.
- Build Quality: Titan has stepped up their game significantly in recent years. This unit is a tank. It’s stable, the pads are comfortable, and it will last a lifetime.
2. The Versatile Powerhouse: Titan Glute Ham Developer (GHD)

The GHD is often confused with a hyper or reverse hyper, but it’s a different beast. This GHD from Titan is a versatile powerhouse for the advanced athlete.
What is a GHD? It’s primarily designed for the "Glute-Ham Raise"—a brutal bodyweight movement where you extend your knees. However, you can also use a GHD for standard back extensions (facing down) and sit-ups (facing up).
Should you get a GHD or a Reverse Hyper? This is the most common debate I see.
- Get the Reverse Hyper (H-PND) if your main goal is lower back rehab, spinal decompression, and fixing pain. It is unique in its ability to traction the spine.
- Get the GHD if your main goal is athletic performance and hamstring strength. The Glute-Ham Raise is arguably the best hamstring exercise in existence. You can do a version of a reverse hyper on a GHD by grabbing the footpads and swinging your legs (facing the wrong way), but it’s awkward and doesn't have the pendulum swing.
The Budget-Friendly Smart Home Gym
Not everyone has $600 or 20 square feet to dedicate to a single machine. If you are looking for efficiency and value, these are my top picks.
1. Roman Chair (Under $100)

If you have about $80-$100 and a small corner of a room, a dedicated Roman Chair is your best bet for standard hyperextensions. We recommend this Roman Chair from Amazon.
Why I like it:
- 45-Degree Angle: This is crucial. A 45-degree angle is generally safer and more effective for beginners than a horizontal (90-degree) bench because the leverage is more manageable.
- Adjustability: It has a hip pad that adjusts for height. This is non-negotiable. If the pad sits too low on your thighs, you’ll slip; too high on your stomach, and you can’t hinge at the hips. You want the top of the pad to sit right in your hip crease.
- Foldability: Many of these units fold up. You can do your set, fold it, and slide it under a bed or into a closet.
2. Multi-Functional Bench (Around $200)

Maybe you don’t want a machine that only does one thing. If you want a bench that lets you bench press, do step-ups, split squats, and hyperextensions, you need a multi-functional bench.
I highly recommend looking for a Multi-Functional Weight Bench (brands like Finer Form are popular). These usually run around $150–$200.
Why it’s a winner:
- Versatility: It transforms. You can set it flat for dumbbell chest presses. You can drop the angle for decline sit-ups.
- The Hyperextension Function: These benches usually have a removable or adjustable thigh support that turns the bench into a Roman Chair.
- Stability: Because it’s built to handle you lying on it with dumbbells, the frame is often constructed from heavier gauge steel than the budget Roman chairs. It feels rock solid.
Exercise Ball is the Best Entry-Level Option
If you aren't ready to buy metal equipment yet, go buy a Stability Ball (Swiss Ball). In my opinion, this is the absolute best entry-level tool because it forces you to stabilize your core dynamically. It costs $20 and takes up zero permanent space.

How to: Standard Hyperextension on a Ball
This is trickier than a machine because the ball moves!
- Position: Place the ball against a wall so it doesn't roll away. Kneel in front of it and drape your hips/stomach over the ball.
- Anchor: Place your feet firmly against the wall, wider than shoulder-width for balance. Your legs should be straight.
- The Move: Cross your arms over your chest or place hands behind your head (harder). Lower your chest toward the ball, rounding slightly. Then, squeeze your glutes and erectors to lift your chest off the ball until your body is straight.
- Why it rocks: The instability of the ball forces your deep stabilizers (multifidus) to fire in a way a rigid machine doesn't.
How to: Reverse Hyperextension on a Ball
This is one of my favorite "hotel room" workouts.
- Position: Lie face down with your hips/stomach on the ball. The ball should be under your navel.
- Anchor: Place your hands flat on the floor in front of you, like you are at the top of a push-up. Keep your arms locked.
- The Move: Keep your legs straight and feet together. Squeeze your glutes to lift your heels toward the ceiling. Pause at the top. Lower slowly.
- Coach's Tip: Do not fling your legs. Control the ascent. If you go too fast, you'll just bounce off the ball. This teaches incredible body control.
The "MacGyver" Setup - Train hyperextensions With No Equipment
"I have no money, no space, and no ball. Can I still do this?" Yes. You can train the reverse hyperextension using just your furniture.
The Ottoman / Kitchen Island Variation


Muscle group:

Tips
-
Engage the Glutes and Lower Back: Focus on using your glutes and lower back muscles to lift your legs, rather than relying on momentum or swinging.
-
Maintain Core Stability: Keep your core tight throughout the movement to stabilize your spine and prevent excessive arching of your lower back.
-
Controlled Movements: Perform the exercise slowly, especially during the lowering phase, to maximize muscle engagement and avoid injury.
-
Leg Height: Avoid lifting your legs too high, as overextending can strain your lower back. The goal is to raise your legs to the level of your body or slightly higher.
-
Breathing: Exhale as you lift your legs, and inhale as you lower them. Proper breathing helps maintain rhythm and control during the movement.
You can do these on a sturdy table, a kitchen island, or a high ottoman.
The Setup:
- Surface: Find a surface that is at least waist height if possible. If you use a low ottoman, your feet will hit the floor, limiting range of motion (ROM), but it’s still workable.
- Position: Lie face down on the surface so that your hips are right at the very edge. Your legs should hang off completely. This is critical—your hip crease must be on the edge so your legs can swing freely.
- The Anchor: This is the hard part. You need to hold onto something stable so you don't tip forward.
- If on a table: Grip the edges of the table tight.
- If on an ottoman: You might need to reach forward and hold onto a heavy kettlebell, a doorframe, or the bottom of a sofa placed in front of you.
The Execution:
- Start with legs hanging down (or toes on the floor if the surface is low).
- Brace your abs. This protects the lower back from over-arching.
- Initiate the movement by squeezing your glutes. Lift your legs until they are horizontal.
- Important: Do not try to swing them higher than your body. We want a straight line, not a scorpion shape.
- Lower slowly.
The Limitation: The main drawback here is the lack of "swing" and traction compared to the Titan machine. You don't get that spinal decompression benefit to the same degree because gravity isn't pulling your legs under you as effectively. However, for pure glute strength and lower back endurance, it is highly effective.
Programming: How to Fit These Into Your Routine
You don’t need to do these every day (though some powerlifters do high-reps daily for rehab). For a calisthenics athlete, here is my recommended schedule:
Frequency: 2 times per week.
Placement: At the end of your leg day or lower-body session. Do not do these before heavy squats or deadlifts; you don't want to fatigue your spinal stabilizers before you need them most.
The Protocol:
- For Strength (Weighted Hypers/Reverse Hypers): 3 sets of 8–12 reps. Focus on a hard contraction at the top and a 2-second hold.
- For Rehab/Prehab (Unweighted or Light Reverse Hypers): 2 sets of 20–25 reps. Focus on the pump and blood flow. Keep the rhythm smooth.
Conclusion
We spend so much time training the "show" muscles that we forget the "go" muscles. The hyperextension and reverse hyperextension are not sexy. They won't give you a pump that looks good in a t-shirt. But they will give you a back that can handle anything you throw at it—whether that’s a heavy squat, a planche progression, or just years of hard training without pain.
Start with the basics. Get a cheap Roman chair or clear off your ottoman. If you fall in love with the feeling (and I think you will), that Titan Reverse Hyper will be waiting for you when you’re ready to level up.
Train smart, stay consistent, and don't skip the posterior chain.
Disclaimer: I am a coach, not a doctor. If you have existing back pain or a herniated disc, consult with a medical professional before starting heavy spinal loading exercises.