
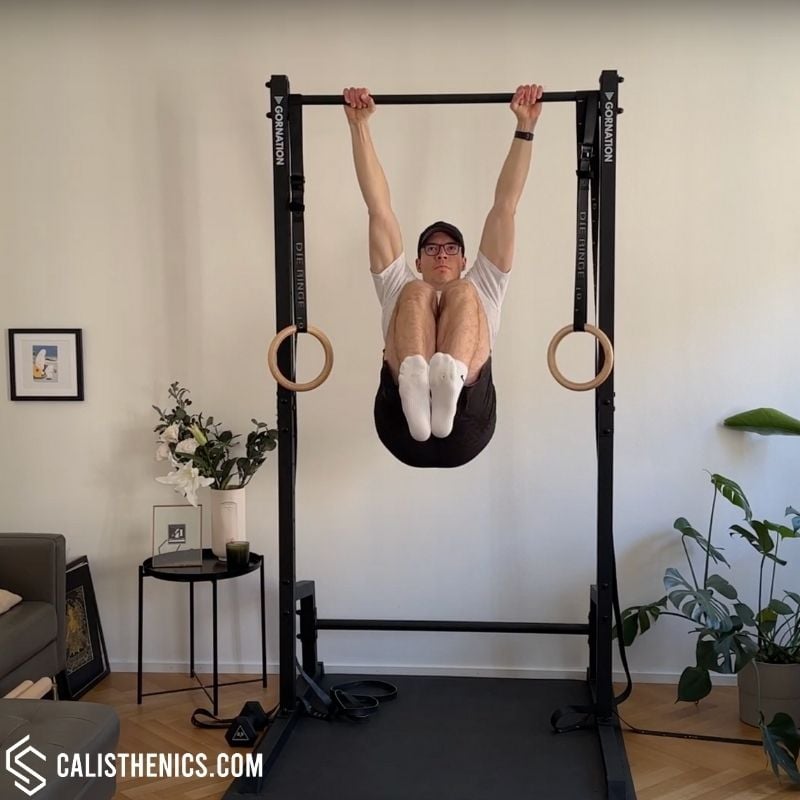
Hanging Knee Raises
How to do Hanging Knee Raises?
Hanging knee raises are an excellent beginner-friendly core exercise that helps build the foundational strength required for more advanced movements like hanging leg raises and toes-to-bar. This movement involves hanging from a pull-up bar and lifting your knees toward your chest while maintaining control. It primarily targets the lower abs, hip flexors, and grip strength while also reinforcing proper hanging mechanics.
Before attempting hanging knee raises, you should be comfortable with hanging from a bar for at least 20 seconds in an active position (shoulders engaged, not dead hanging). If grip endurance is a limiting factor, you can improve it with dead hangs and wrist-strengthening exercises. Core activation is also essential, so incorporating lying knee tucks and hollow body holds into your training can be beneficial.
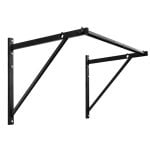
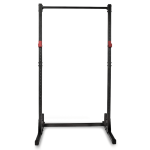
The only equipment needed is a pull-up bar that allows for a full range of motion without touching the ground. Chalk can help maintain grip during longer sets. Straps are not recommended, as grip endurance is an important component of the exercise.
Step-by-Step Execution
1. Setting Up the Grip and Hang
• Grip the pull-up bar with an overhand grip, shoulder-width or slightly wider.
• Engage your shoulders slightly by pulling them down (active hang).
• Keep your legs together and your core engaged before initiating the movement.
2. Lifting the Knees
• Exhale and engage your core as you start lifting your knees.
• Keep your knees bent and raise them toward your chest in a controlled manner.
• Focus on tilting your pelvis slightly at the top to fully engage the lower abs.
3. Reaching the Top Position
• Raise your knees as high as possible, ideally bringing them above hip level.
• Maintain control and avoid excessive swinging or leaning back.
4. Lowering with Control
• Slowly lower your legs back to the starting position.
• Resist the urge to let your legs drop too quickly—control the descent to maximize strength gains.
• Reset before initiating the next rep to avoid building momentum.
Benefits of Hanging Knee Raises
• Develops Core Strength – Engages the entire abdominal wall with a focus on the lower abs.
• Builds Grip and Forearm Endurance – Improves hanging strength, which carries over to pull-ups.
• Strengthens Hip Flexors – Helps improve leg control and mobility.
• Improves Shoulder Stability – Reinforces proper shoulder engagement while hanging.
• Prepares for More Advanced Movements – Acts as a stepping stone to hanging leg raises and toes-to-bar.
Common Mistakes to Avoid
• Using Too Much Momentum – Swinging reduces core activation and makes the exercise less effective.
• Bending the Arms – Keep your arms straight to prevent unnecessary upper-body fatigue.
• Dropping the Legs Too Quickly – Lowering too fast eliminates the eccentric strength-building phase.
• Neglecting Core Engagement – Allowing the lower back to arch can lead to strain.
• Gripping Too Tightly – Over-gripping the bar can cause early fatigue.
Gym Equivalent Exercises
• Captain’s Chair Knee Raises – Similar core activation with back support.
• Lying Knee Tucks – Provides the same movement pattern without requiring grip strength.
• Cable or Machine Knee Raises – Allows for adjustable resistance while targeting the core.
• Seated Knee Raises on a Bench – A grounded alternative for beginners.
Tips for the proper execution of Hanging Knee Raises
Keep your shoulders engaged to maintain an active hang.
Use controlled breathing—exhale as you lift, inhale as you lower.
Keep your knees together and lift them as high as possible for maximum core engagement.
Chalk your hands if you struggle with grip endurance.
If you’re a beginner, focus on slow, controlled reps rather than high volume.
Control the lowering phase to strengthen the abs and prevent swinging.
Muscles worked when doing Hanging Knee Raises
Each phase of the hanging knee raise engages multiple muscle groups:
Primary Muscles:
•Rectus Abdominis (raising the knees)
•Hip Flexors (initiating the lift)
Secondary Muscles:
•Obliques (stabilizing the movement)
•Lats and Shoulders (supporting the hang)
•Forearms and Grip Muscles (maintaining bar control)
Primary Muscle(s):

Abdominal
Secondary Muscle(s):
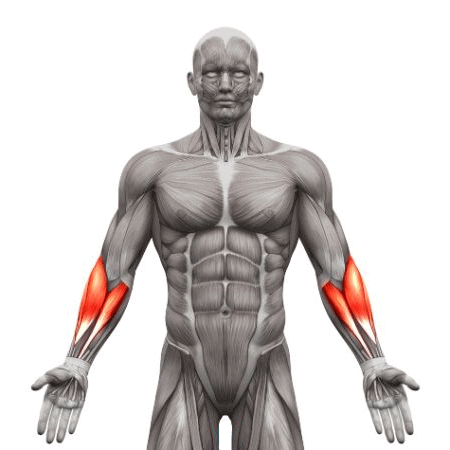
Forearm
Equipment needed for Hanging Knee Raises

Adjust the difficulty of Hanging Knee Raises
Hanging knee raises are highly scalable, making them a perfect core exercise for beginners while also offering ways to progress to more advanced movements. By modifying the knee position, controlling the tempo, or adding resistance, you can tailor the difficulty to your fitness level. Whether you’re training for core endurance or working toward hanging leg raises, this exercise serves as an essential stepping stone in your calisthenics journey.
How to make Hanging Knee Raises harder?
How to make Hanging Knee Raises easier?
How to make Hanging Knee Raises harder?
To make Hanging Knee Raises harder:
-
Extend to Hanging Leg Raises – Straighten your legs to increase difficulty.
-
Add Ankle Weights – Provides extra resistance to the movement.
-
Pause at the Top – Hold the knees at chest height for 2-3 seconds per rep.
-
Perform Slow Negatives – Lower the knees in 3-5 seconds to increase time under tension.
-
Perform L-Sit Holds – Increases static core engagement between reps.
How to make Hanging Knee Raises easier?
To make Hanging Knee Raises easier:
-
Perform Lying Knee Tucks – Reduces the grip strength requirement while still targeting the core.
-
Use a Resistance Band for Assistance – Secure a band under your feet to support the movement.
-
Reduce the Range of Motion – Start by raising your knees only halfway before progressing to full range.
-
Perform Knee Raises with Back Support – Using a captain’s chair can help focus on core engagement without worrying about grip fatigue.