
Pull 4: Pull-up Starter and Grip Strength Builder Workout
🎯 Workout Description:
This session adds more time under tension and introduces scapula pull-ups to start prepping your shoulders and lats for their first real pull-up. You’ll also do some supported vertical pulling while building grip strength and shoulder endurance.
👤 Who It’s For:
Beginner to low-intermediate athletes ready to transition from rows and band pulls into more upright, gravity-based resistance (but still assisted).
🧰 Equipment Needed:
- Pull-up bar or sturdy doorway bar. Check our ▶️ guide to the best pull-up bars.
- Resistance band
Resistance Bands
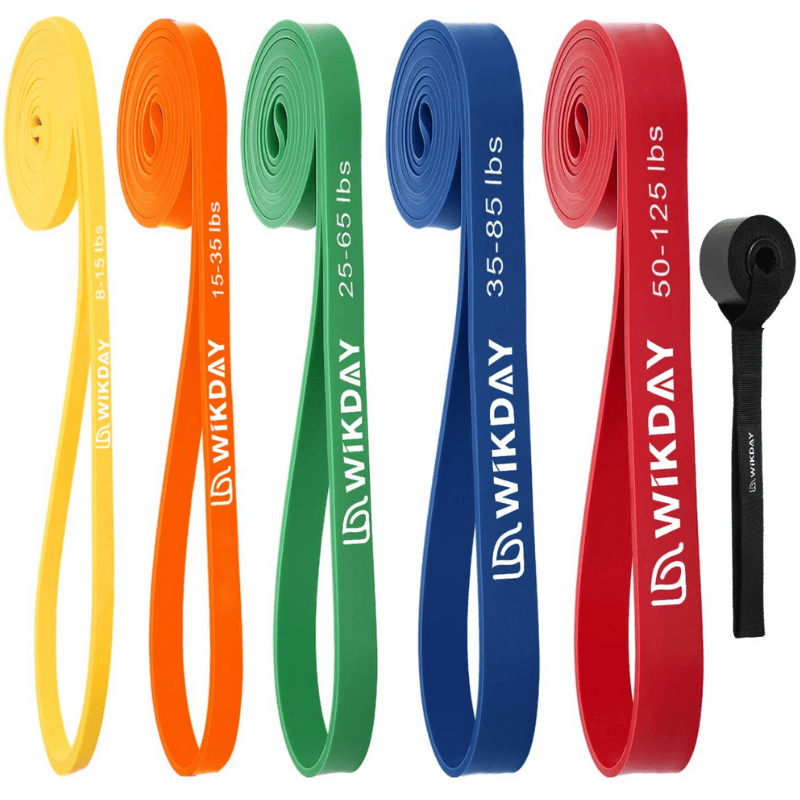
*alternative buying options:
👉 GORNATION (UK&Europe) 🇪🇺 🇬🇧 use code CS10 for 10% off
- High quality natural latex
- Multiple sizes: great for beginners and advanced
- Inlcudes a door anchor for standalone exercises
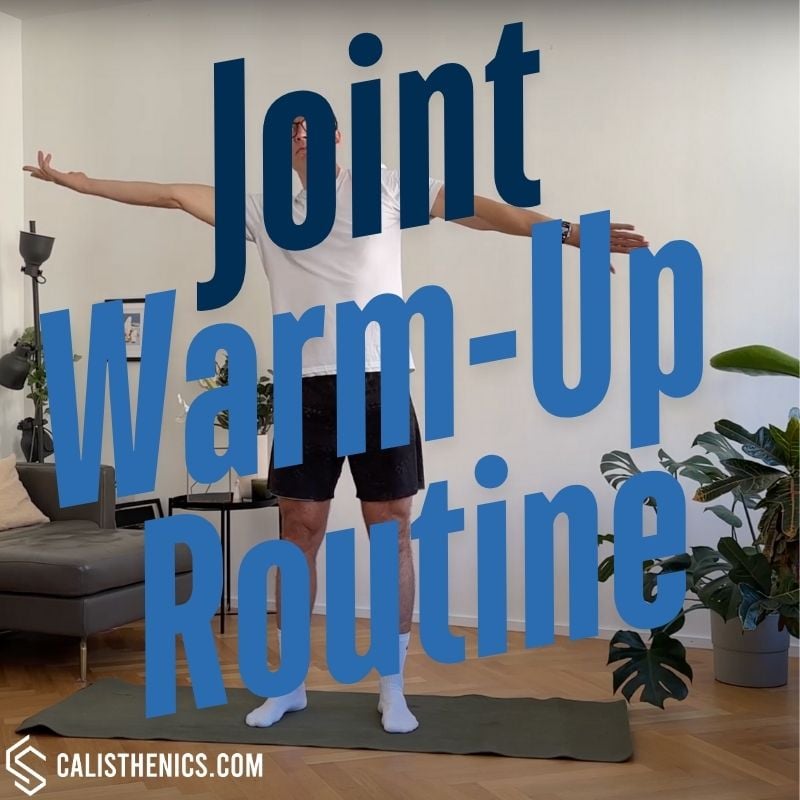
Warm-Up
Goal: Prepare the shoulders and core for overhead pulling and scapula activation.
Format: Circuit – 2 rounds, no rest between exercises or rounds
•5x Inchworms with Push-Up
•10x Towel Pass-Throughs
•12x Towel Bent Over Rows
Expect a gentle shoulder opening and core switch-on that preps you for hanging work.
No muscle groups found for this post.
Tips
-
Start with a small range of motion and enlarge it only when the movement feels smooth.
-
Move slowly enough to control every part of each circle.
-
Keep your breathing relaxed and avoid unnecessary tension in your jaw, neck and shoulders.
-
Use a wall or stable object for balance during the ankle section if necessary.
-
Spend additional time on the joints that will carry the greatest load in the upcoming workout.
-
Stop or reduce the range if a movement causes sharp, pinching or radiating pain.
-
Keep the routine light enough that it does not create fatigue before training.
-
Follow the routine with progressively harder versions of the exercises you are about to perform.
-
Do not force both sides into identical ranges when one side feels temporarily stiffer.
-
Judge readiness by movement quality and control rather than by how far you can stretch.
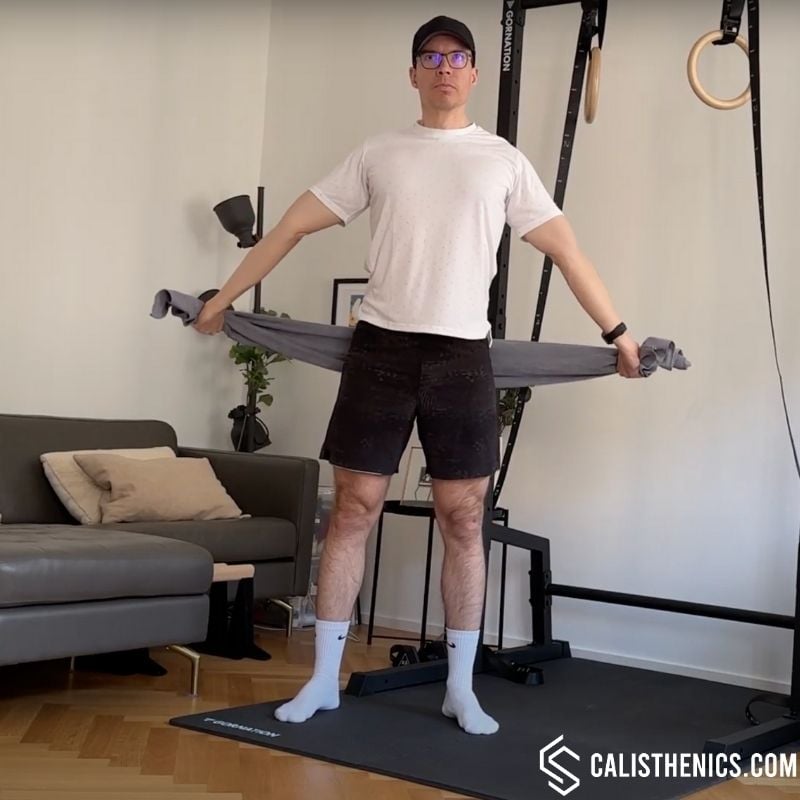
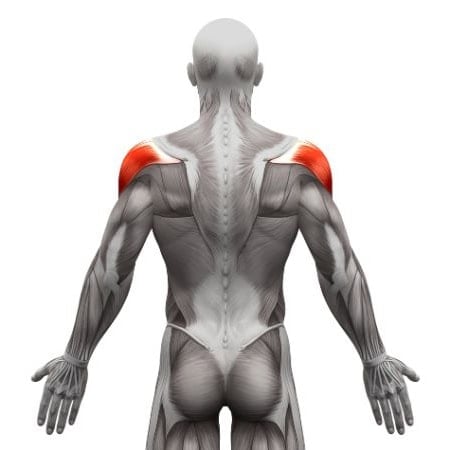
Tips
-
Start with a wider grip if you feel tightness in your shoulders.
-
If the movement feels too challenging, switch to a resistance band, which allows more flexibility.
-
Perform in front of a mirror to check for excessive arching or compensations.
-
Include it in your warm-up routine before upper body workouts, especially if working on overhead movements.
-
If you experience pain, stop and reassess your grip width and movement control.
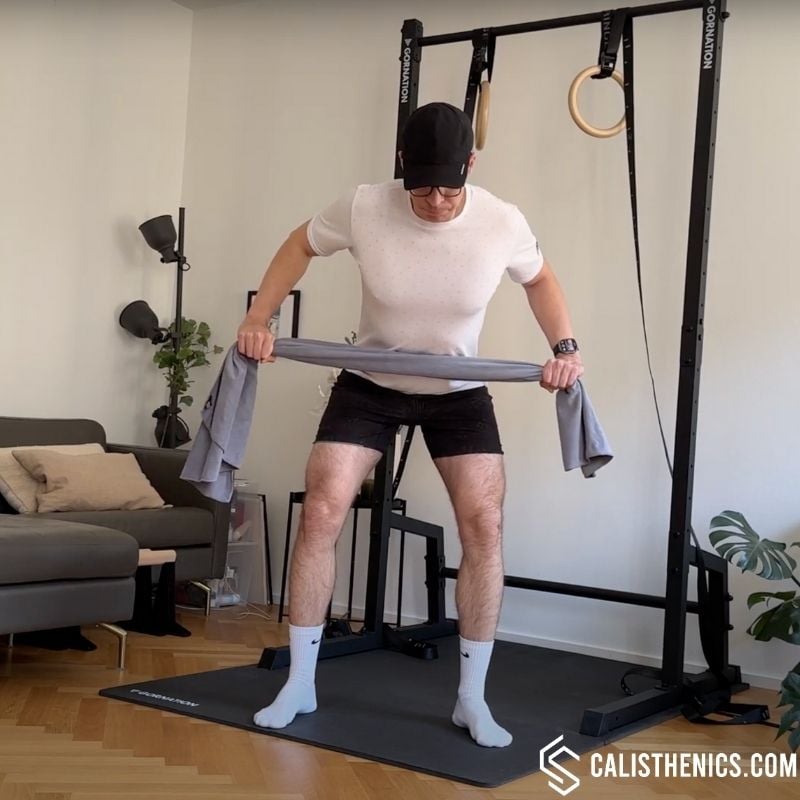

You can also use a resistance band instead of a towel.
Tips
-
Keep Your Back Flat – Avoid rounding your spine by keeping your chest up and core engaged.
-
Control the Resistance – In self-resisted rows, make sure your non-working arm provides enough tension.
-
Squeeze the Shoulder Blades – This maximizes back muscle activation.
-
Use a Sturdy Anchor – If using an anchored towel, ensure it won’t slip or loosen.
-
Focus on squeezing your shoulder blades: This will help activate the target muscles and ensure proper form.
-
Maintain a Slight Knee Bend – This helps stabilize your position and prevent lower back strain.
Strength
Goal: Improve vertical pulling mechanics and scapular control using assistance from bands or feet.
Structure:
•Superset A (3 rounds): Perform A1 + A2 back-to-back, rest 90 sec
•Set B (2 sets): Performed on its own, rest 45 sec
🟦 Superset A:
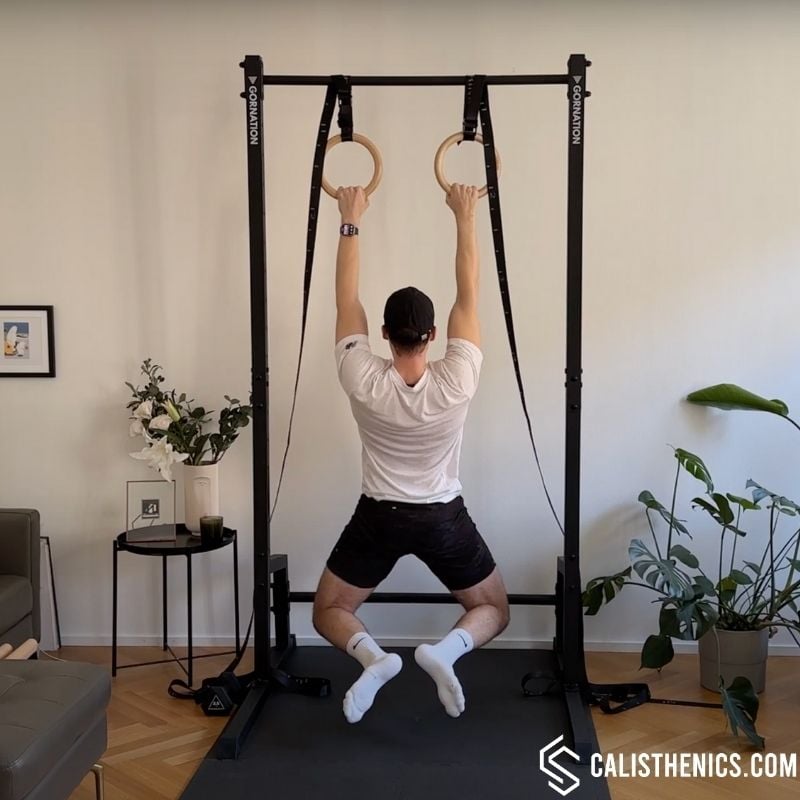
•A1: Scapula Pull-Ups (or Dead Hangs if not yet ready) – 5 reps or 20 sec hang
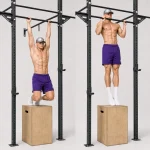
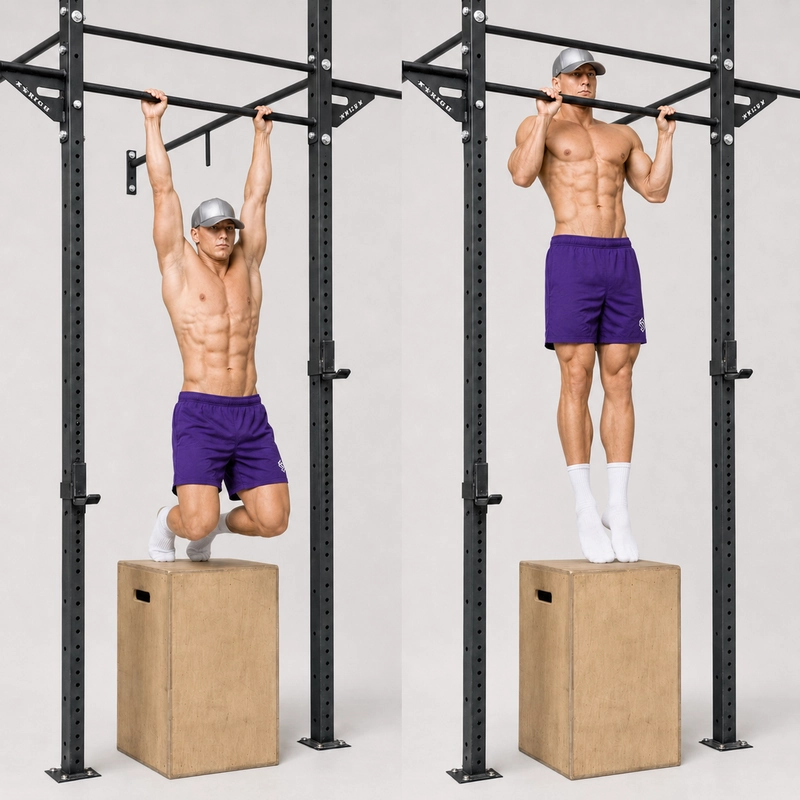
•A2: Feet-Assisted Pull-Ups (use chair or floor support) – 6–8 reps
→ Rest 90 sec between rounds
🟩 Set B:
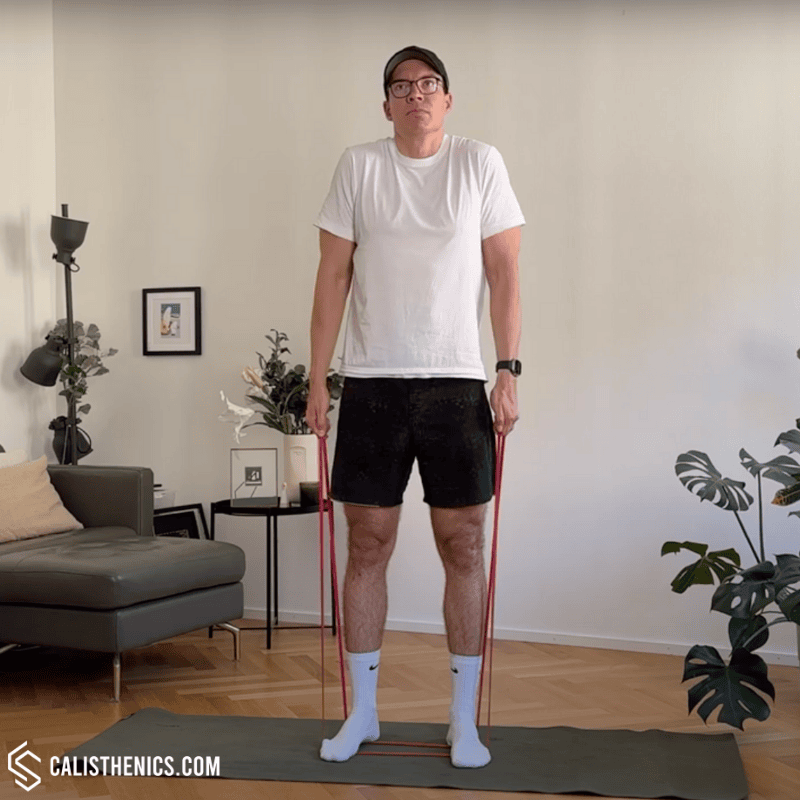
•Resistance Band Shrugs – 15 reps
→ Rest 45 sec between sets
Keep control during scapula pull-ups—don’t rush. For assisted pull-ups, aim to use your upper body as much as possible and just lightly assist with your feet.

Tips
-
Keep Arms Straight – Do not bend your elbows; the movement should come only from the scapula.
-
Engage Your Core – Helps prevent excessive body movement or swinging.
-
Control the Descent – Avoid dropping too fast; lower with control.
-
Breathe Properly – Inhale while lowering, exhale while pulling your scapula together.
-
Use a Full Range of Motion – Ensure you fully depress and retract your scapula.
Muscle group:
Do it on gymnastics rings or a pull-up bar.
For feet support, you can use a chair, plyo box or a stack of weight plates etc.
Tips
-
Use the Least Assistance Necessary – Rely on your upper body first, using your legs only as needed.
-
Keep Rings Close to Your Body – Prevent the rings from drifting outward for better control.
-
Engage Your Core to Avoid Swinging – Keep your torso tight and stable.
-
Control the Lowering Phase – Avoid dropping quickly, focus on a slow eccentric movement.
-
Breathe Properly – Inhale before pulling, and exhale at the top.
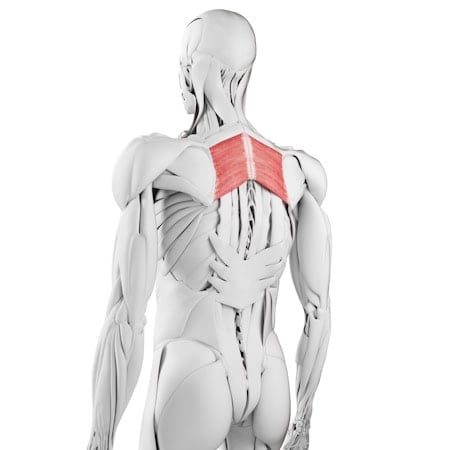
Muscle group:
Tips
-
Keep the Core Tight: Engaging your core helps stabilize your torso, ensuring the movement focuses on the traps.
-
Focus on Shoulder Elevation: Avoid pulling with your arms; instead, focus on lifting your shoulders directly upward toward your ears.
-
Avoid Rolling the Shoulders: Lift your shoulders straight up and down; rolling the shoulders can lead to improper form and shoulder strain.
-
Controlled Movement: Perform the exercise slowly, focusing on squeezing the traps at the top and controlling the descent.
-
Breathe Steadily: Exhale as you lift into the shrug and inhale as you lower back down, maintaining a consistent rhythm.
HIIT Finisher
Goal: Build push-pull balance, core endurance, and total-body fatigue resistance.
Format: 4 rounds – 45 sec work / 15 sec rest
→ Alternate between:
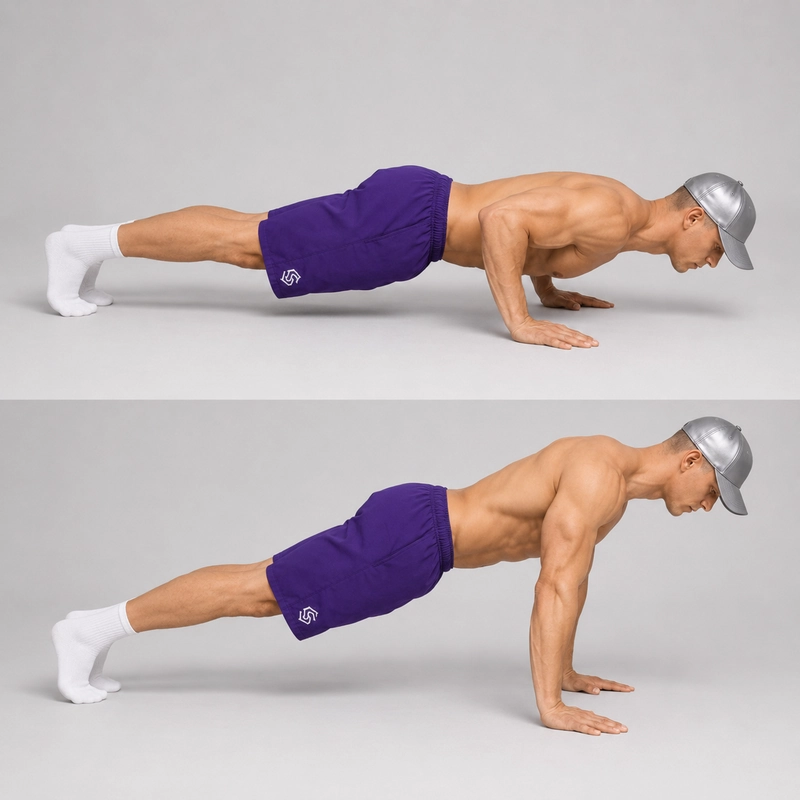
•Push-Ups (from knees or full)
•Walking Lunges
→ 4 rounds = 10 minutes
You’ll be tired, but that’s part of the point—learning to keep tension under fatigue builds control and strength for future pull-up work.


Tips
-
Body Alignment: Keep your body in a straight line from head to heels. Engage your core and glutes to prevent your hips from dropping or rising.
-
Hand Placement: Your hands should be positioned just outside of shoulder-width for optimal stability. Moving them closer or wider will target different muscles.
-
Elbow Positioning: Keep your elbows at about a 45-degree angle from your body, not flaring out too far to avoid shoulder strain.
-
Breathing: Inhale as you lower yourself, and exhale as you push back up. Controlled breathing improves strength and endurance.
-
Controlled Movements: Lower yourself slowly to build strength, then push back up with a smooth, steady motion.
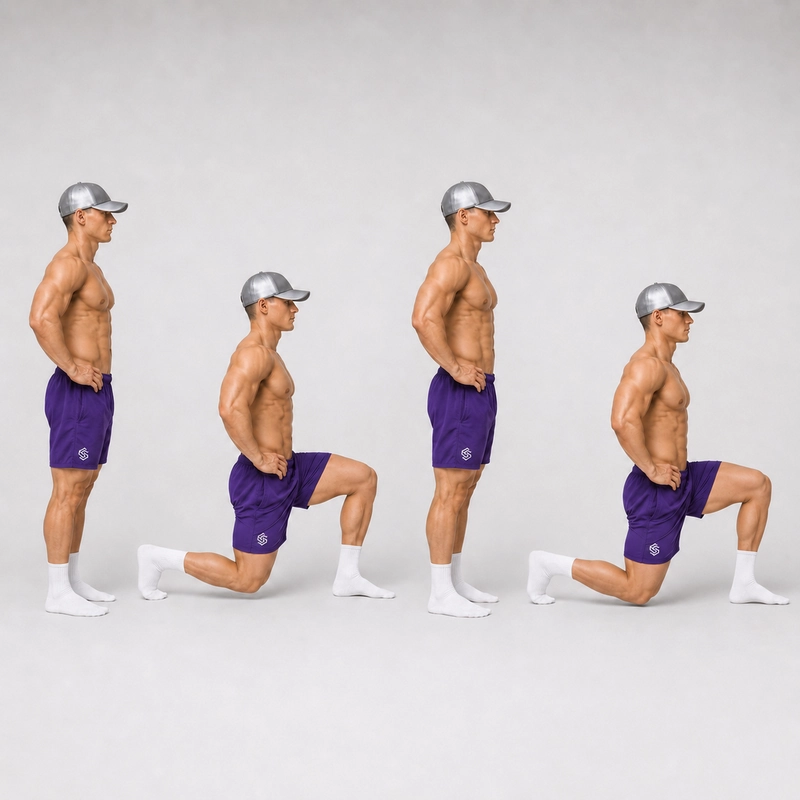
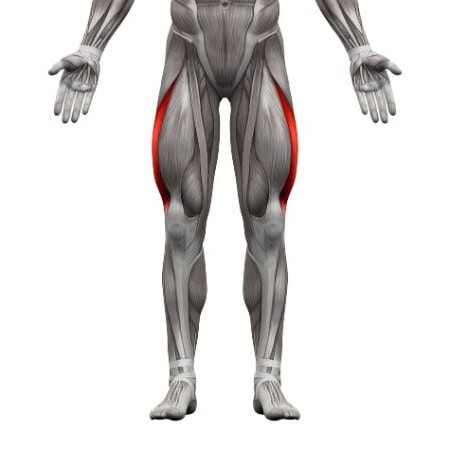
If you don't have a large enough space for walking lunges do Reverse Lunges instead.
Tips
-
Maintain Upright Posture: Keep your torso upright and chest lifted throughout the movement. Avoid leaning forward or arching your back.
-
Step with Control: Focus on controlled, deliberate steps. Rushing the movement can lead to poor form and injury.
-
Knee Alignment: Ensure that your front knee stays aligned with your toes and doesn’t go past your toes as you lunge.
-
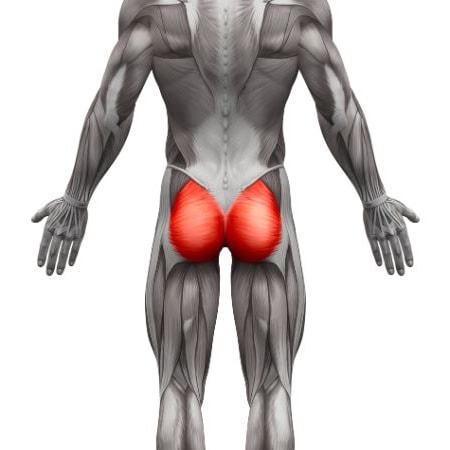
Push Through the Heel: When you push off to bring your back leg forward, drive through the heel of your front foot to engage your glutes and hamstrings effectively.
-
Engage Your Core: Keep your core engaged to help with balance and stability as you move forward.
-
Avoid Overstriding: Taking too large a step can cause your back leg to overstretch and may place unnecessary stress on your joints.
