
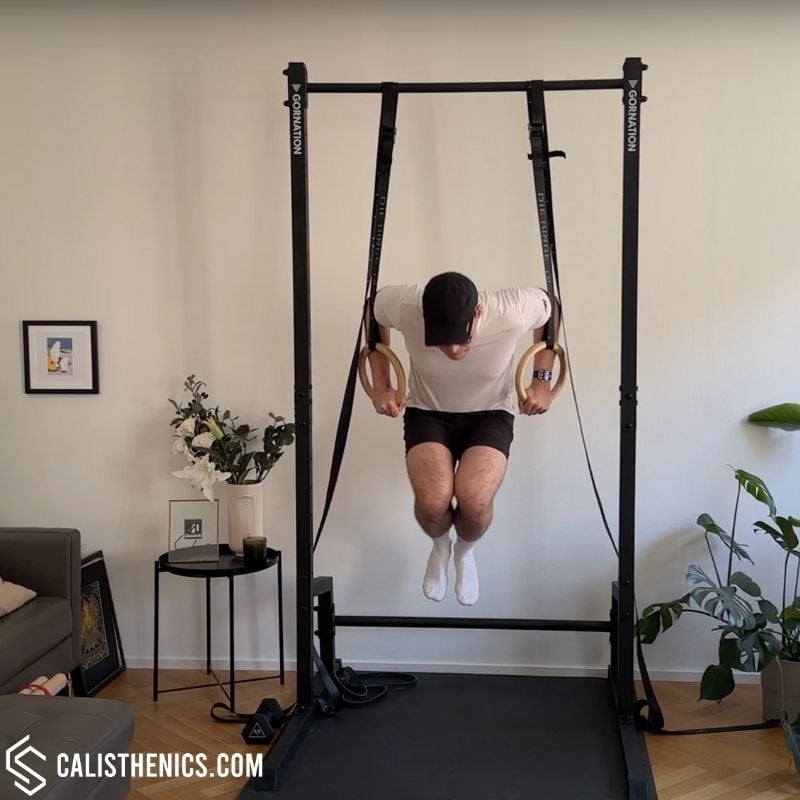
Tuck Ring Dips
How to do Tuck Ring Dips?
Tuck ring dips are an advanced variation of ring dips where the athlete performs the dip while keeping their knees tucked close to the chest. This modification shifts the center of gravity forward, significantly increasing the demands on the chest, front delts, and core, making it a progression exercise toward planche push-ups. The increased forward lean in the tucked position mimics the pressing mechanics of planche push-ups, making it an excellent exercise for developing straight-arm pressing strength and total body control.
Because this movement requires more strength and balance than regular ring dips, it is best suited for athletes who can already perform at least 10 strict ring dips with control. Having a strong core, scapular stability, and wrist endurance will help maintain proper body positioning and prevent excessive swinging.
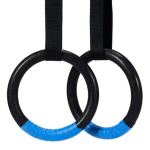
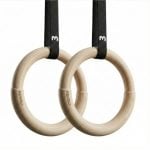
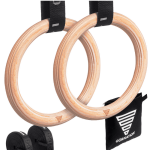
For this exercise, you will need a set of gymnastic rings suspended from a stable structure. The rings should be positioned at a height that allows you to step or jump into the top support position with your feet off the ground. Chalk can help improve grip, and resistance bands can be used for assisted variations.
How to Perform Tuck Ring Dips
1. Setup: Adjust the rings to chest height and grip them with a neutral grip (palms facing inward).
2. Enter the Support Hold: Jump or press yourself into a ring support position, locking your elbows and keeping the rings close to your body.
3. Tuck Your Knees to Your Chest: Lift your knees up as high as possible toward your chest while keeping your back slightly rounded in a hollow body position.
4. Lower Into the Dip: Bend your elbows while leaning slightly forward, keeping your elbows close to your torso. Move slowly and under control to avoid losing balance.
5. Reach Full Depth: Descend until your shoulders drop slightly below your elbows, ensuring a full range of motion while maintaining the tucked position.
6. Press Back Up: Drive through your palms, engage your chest and triceps, and extend your elbows while maintaining the tucked position.
7. Repeat for Repetitions: Perform the desired number of reps, keeping tight form and control throughout.
Benefits of Tuck Ring Dips
• Increases Chest & Front Delt Activation: The forward-leaning position places more emphasis on the upper chest and anterior deltoids.
• Strengthens Core & Hip Flexors: Maintaining the tuck position requires intense abdominal engagement.
• Prepares for Planche Push-Ups & Planche Work: Builds the necessary pressing strength and body positioning for advanced skills.
• Improves Shoulder Stability & Control: The instability of the rings forces greater scapular activation.
• Enhances Time Under Tension: Keeping the knees tucked increases the difficulty and endurance required to perform the movement.
• Carries Over to Other Gymnastics & Calisthenics Skills: Helps bridge the gap between ring dips and straight-arm pushing movements.
Common Mistakes to Avoid
• Not Keeping the Tuck Tight: Allowing the knees to drift down reduces core engagement and the effectiveness of the exercise.
• Dropping Too Fast: Lower yourself slowly and with control to maintain stability and reduce injury risk.
• Letting the Rings Drift Outward: Keep the rings close to your body to prevent losing balance.
• Flaring the Elbows: Keep your elbows tucked to maintain proper shoulder positioning.
• Shrugging Shoulders at the Top: Maintain shoulder depression (push your shoulders down) to avoid poor scapular mechanics.
• Swinging or Losing Control: Excessive movement disrupts balance and reduces muscle engagement—move deliberately and with control.
Gym Equivalent Exercises
• Feet-Assisted Tuck Dips on Rings – Reduces difficulty by allowing some weight on the feet for support.
• Weighted Ring Dips – Helps develop pushing strength before transitioning to the tuck variation.
• Archer Dips on Rings – Builds unilateral strength and control.
• Pseudo Planche Push-Ups – Strengthens the forward-leaning push in a more stable environment.
• Deep Parallel Bar Dips with Forward Lean – Trains similar mechanics but on a fixed, stable surface.
Tips for the proper execution of Tuck Ring Dips
Keep Your Tuck High: Bring your knees as close to your chest as possible to fully engage the core.
Move Slowly & With Control: Avoid bouncing out of the bottom position—slow eccentrics (lowering phase) build more strength.
Maintain a Slight Forward Lean: This ensures proper muscle activation and transfers well to planche push-ups.
Push the Rings Slightly Outward at the Top: Helps keep your shoulders engaged and reduces unnecessary strain.
Train Support Holds in the Tuck Position: Holding the top position before dipping improves control and endurance.
Progress Gradually: If tuck dips are too difficult, start with regular ring dips before progressing.
Muscles worked when doing Tuck Ring Dips
The primary muscles engaged in tuck ring dips include:
•Pectoralis major (chest) – Works harder than in regular dips due to the forward lean.
• Anterior deltoids (front shoulders) – Supports the leaning position and pressing movement.
•Triceps brachii – Extends the elbows to push back up.
The secondary muscles involved include:
• Core muscles (rectus abdominis, obliques, transverse abdominis) – Maintains the tucked body position.
• Hip flexors (iliopsoas, rectus femoris) – Helps keep the knees close to the chest.
•Forearms & Grip Muscles – Stabilizes the rings throughout the movement.
• Scapular stabilizers (serratus anterior, lower traps, rhomboids) – Ensures proper shoulder control.
Primary Muscle(s):
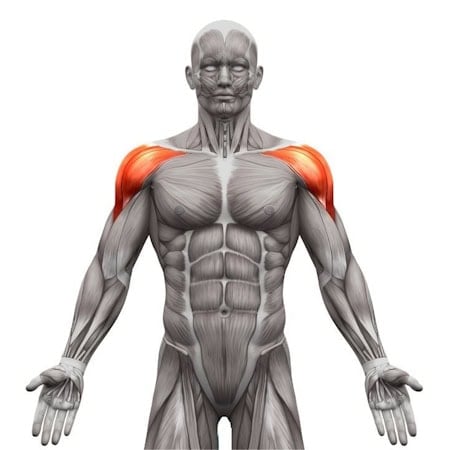
Anterior delt
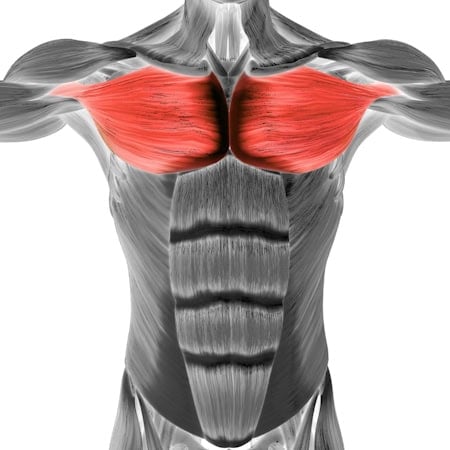
Middle chest
Secondary Muscle(s):
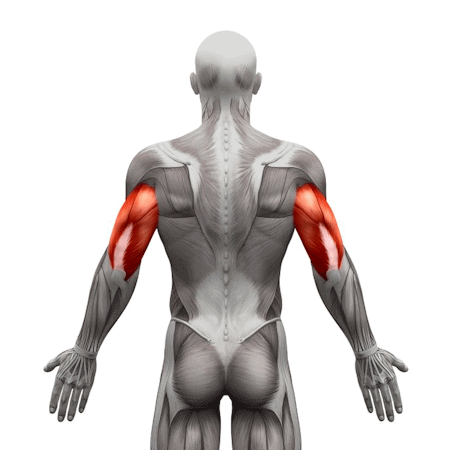
Triceps

Abdominal
Equipment needed for Tuck Ring Dips
Adjust the difficulty of Tuck Ring Dips
Tuck ring dips offer a unique challenge that enhances pushing strength, stability, and body control. By adjusting tuck depth, tempo, assistance, and weight, athletes can progressively overload the movement. As proficiency increases, transitioning to harder variations like planche push-ups, straddle dips becomes more achievable. Mastering tuck ring dips helps build explosive pushing power and develop straight-arm strength crucial for advanced calisthenics skills.
How to make Tuck Ring Dips harder?
How to make Tuck Ring Dips easier?
How to make Tuck Ring Dips harder?
To make Tuck Ring Dips harder:
-
Slow Down the Descent: Extend the eccentric phase to 6-8 seconds per rep.
-
Pause at the Bottom: Hold the lowest position for 3-5 seconds to build stability and endurance.
-
Add Weight: Use a dip belt or weighted vest to increase resistance.
-
Extend One Leg: Perform one-leg tuck dips to gradually transition toward straddle planche dips.
-
Perform on Higher Rings: The greater instability increases the challenge.
-
Combine with L-Sit Dips: Holding an L-sit while performing the dip adds core engagement.
How to make Tuck Ring Dips easier?
To make Tuck Ring Dips easier:
-
Use a Resistance Band for Assistance: Loop a band around the rings and place a knee inside for support.
-
Perform Partial Reps: Start with a smaller range of motion before progressing to deeper dips.
-
Perform Regular Ring Dips First: Master strict ring dips before attempting the tucked variation.
-
Perform Slow Eccentrics - focus just on the lowering phase
-
Increase Tuck Height Gradually: If full tuck is too hard, start with a less compressed position.