
One-Leg Back Lever
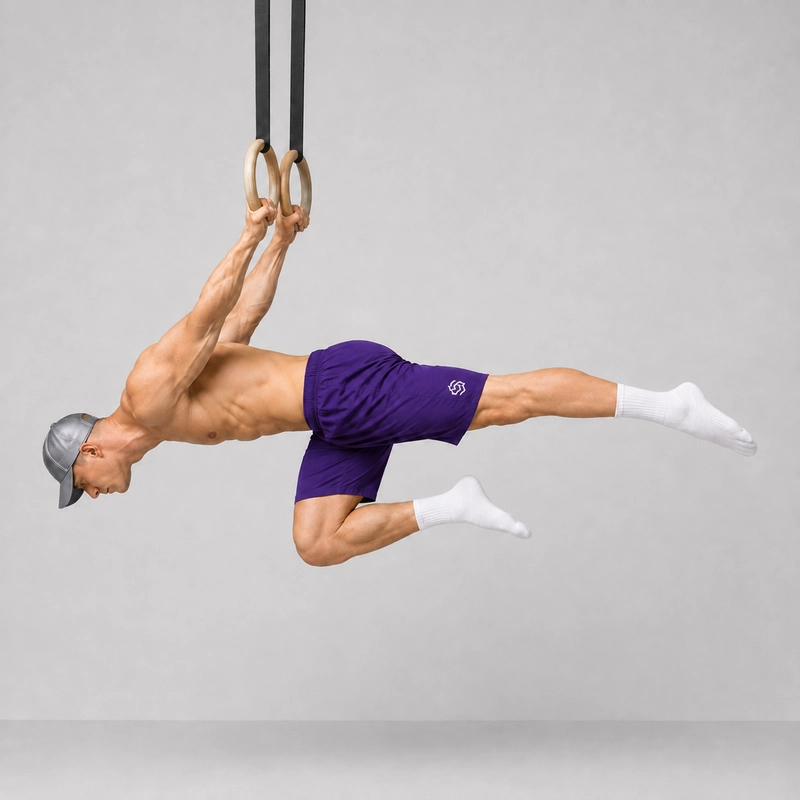
How to do One-Leg Back Lever?
The one-leg back lever is an advanced straight-arm calisthenics hold performed underneath a pull-up bar or gymnastics rings. One leg remains fully extended in line with the torso while the other leg is bent and tucked toward the body. This shortens the lever compared with a full back lever while introducing more load and a greater anti-rotation challenge than an advanced tuck back lever.
The exercise develops the straight-arm strength, shoulder control and total-body tension required for harder back lever variations. Because the leg position is asymmetrical, you must actively prevent the hips and torso from rotating toward the tucked side.
Before attempting the one-leg back lever, build confidence in a controlled Skin the Cat, an Inverted Hang on Rings and the advanced tuck back lever. You should be able to enter and leave the position without swinging or losing control through the shoulders.
This is a demanding straight-arm exercise. Stop if you experience sharp pain or unusual discomfort in the shoulders, elbows or biceps. Use a secure apparatus, train over a clear landing area and avoid forcing a lower position than you can actively control.
Tips for the proper execution of One-Leg Back Lever
Reach through the heel Actively lengthen the extended leg by reaching through the heel. This helps you lock the knee and maintain one continuous line from the shoulders to the foot.
Lock your elbows before lowering Establish straight arms in the inverted position and maintain them throughout the descent and hold. Do not attempt to straighten the arms after the body is already horizontal.
Keep the tucked leg compact Draw the bent knee toward your torso to shorten the lever. Keep the knee close to your midline instead of allowing it to fall out to the side.
Keep your hips square The uneven leg position will try to rotate your pelvis. Brace your core and keep both hip bones facing the floor.
Lower your body as one unit Move the shoulders, torso, hips and extended leg together. Avoid dropping the hips first or folding at the waist.
Maintain active shoulder tension Do not hang passively from the shoulder joints. Grip the apparatus firmly and maintain deliberate tension through the shoulders and upper body.
Brace your ribs and glutes Keep the ribs controlled and squeeze the glutes to prevent excessive arching through the lower back.
Keep your head neutral Look toward the floor without lifting your chin. The head should follow the line of the torso.
Train both sides equally Switch which leg is extended on every set or hold. Unequal practice can reinforce rotation and side-to-side strength differences.
Time only the stable position Start counting once your body is horizontal and motionless. Do not include the entry, a swinging position or time spent above the target angle.
Muscles worked when doing One-Leg Back Lever
The one-leg back lever is a full-body isometric exercise. The upper body must resist the force pulling the torso away from the hands, while the core and lower body keep the asymmetrical position stable.
Anterior Deltoids
The anterior deltoids help generate the shoulder tension required to keep the body suspended behind the arms. They work isometrically while the shoulders remain in an extended position.
Pectoralis Major
The chest contributes to shoulder control and helps maintain the position of the upper body. The pectoralis major acts across the shoulder joint and works together with the surrounding shoulder musculature to stabilize the lever. For more anatomical detail, see the NCBI overview of the pectoralis major.
Biceps and Elbow Flexor Tissues
The biceps brachii crosses both the shoulder and elbow joints. It is placed under substantial tension when the elbows are locked and the shoulders are extended, which is one reason back lever training should be progressed gradually. The NCBI biceps anatomy reference explains its relationship with both joints.
Lats, Triceps and Upper Back
The latissimus dorsi, triceps and muscles surrounding the shoulder blades assist with shoulder stability and control the position of the torso relative to the arms.
Abdominals and Obliques
The abdominals resist excessive lower-back extension. Because one leg is tucked while the other is extended, the obliques also work to prevent the torso and pelvis from rotating.
Glutes and Lower Back
The glutes and spinal extensors help keep the hips open and aligned with the torso. Insufficient tension in these muscles often causes the hips to fold or the extended leg to fall below horizontal.
Quadriceps and Hamstrings
The quadriceps keep the extended knee locked, while the hamstrings and other hip muscles help control the position of both legs. The tucked leg also requires active hip-flexor engagement.
Primary Muscle(s):

Anterior delt

Biceps
Secondary Muscle(s):

Middle chest
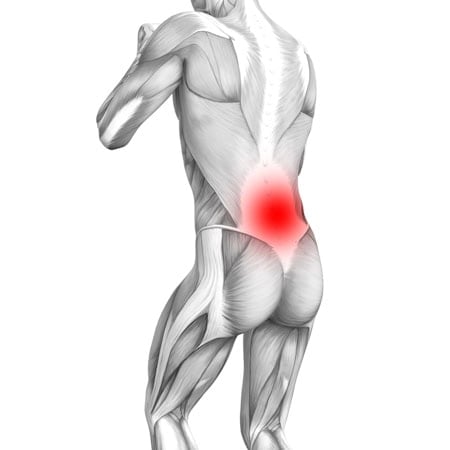
Lower back
Equipment needed for One-Leg Back Lever
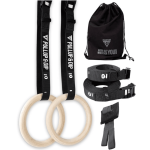
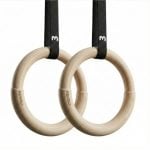
Adjust the difficulty of One-Leg Back Lever
How to make One-Leg Back Lever harder?
How to make One-Leg Back Lever easier?
How to make One-Leg Back Lever harder?
To make One-Leg Back Lever harder:
-
Open One-Leg Back Lever Move the tucked knee gradually away from your chest while keeping the other leg straight. This lengthens the lever without immediately changing to a two-leg variation.
-
Half-Lay Back Lever Extend both hips while keeping both knees bent at approximately 90 degrees. Keep the thighs aligned with the torso.
-
Straddle Back Lever Straighten both legs and separate them into a wide straddle. The wider position reduces the lever compared with keeping the legs together.
-
Narrow-Straddle Back Lever Bring the straight legs progressively closer together while maintaining the horizontal body line.
-
Band-Assisted Full Back Lever Hold the complete back lever shape with both legs straight and together while a resistance band supports part of your body weight.
-
Full Back Lever Negative Start from an inverted hang and lower through a full back lever with both legs straight and together. Control the entire descent without bending the elbows.
-
Full Back Lever Hold your entire body horizontally with straight arms and both legs extended together. Progress only when the one-leg variation is equally strong on both sides.
-
Extended One-Leg Holds Increase clean one-leg back lever holds toward 8–12 seconds per side before moving to a substantially longer lever.
How to make One-Leg Back Lever easier?
To make One-Leg Back Lever easier:
-
Tuck Back Lever Keep both knees drawn tightly toward your chest. This creates the shortest lever and provides the starting position for learning back lever alignment.
-
Advanced Tuck Back Lever Move the knees farther from the chest while keeping both legs bent. Master this symmetrical position before introducing the one-leg variation.
-
Partially Extended One-Leg Back Lever Extend one leg only as far as you can while maintaining square hips and straight arms. Gradually straighten the knee as your control improves.
-
Band-Assisted One-Leg Back Lever Loop a resistance band around the bar and support the hips with it. Use enough assistance to practice a horizontal position without losing form.
-
One-Leg Back Lever Above Horizontal Stop the descent with the hips slightly higher than the shoulders. Progressively lower the body as you develop more straight-arm strength.
-
One-Leg Back Lever Negative Begin in an inverted hang and lower slowly through the one-leg position. Use this variation when you can control the descent but cannot yet maintain a static hold.
