
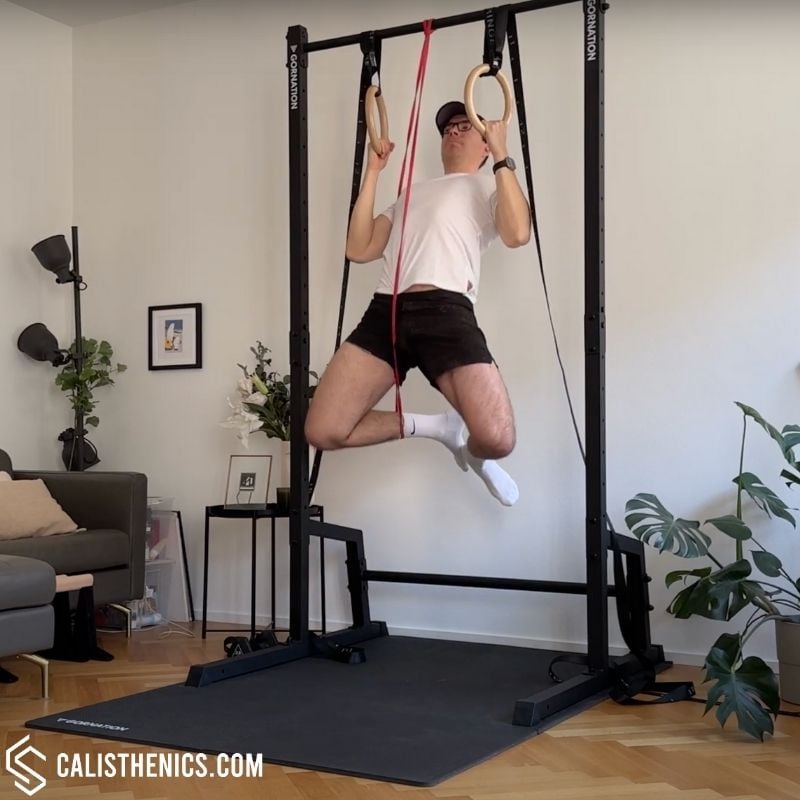
Resistance Band Ring Pull-Up
How to do Resistance Band Ring Pull-Up?
The Resistance Band Ring Pull-Up is a great progression for building upper body strength, particularly for those working towards unassisted ring pull-ups. This exercise uses gymnastic rings and a resistance band to provide assistance throughout the movement, making it easier to control your form and complete more reps. Because the rings allow for a natural rotation of the wrists and elbows, this variation can be easier on the joints than a standard pull-up bar version.
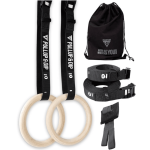
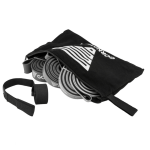
Before attempting this exercise, you should have some baseline pulling strength—being able to perform a controlled dead hang for at least 10-20 seconds will help. The mobility requirement is slightly lower compared to a bar pull-up since the rings allow for more freedom of movement, making it accessible to those with limited shoulder mobility. The main equipment needed includes a set of gymnastic rings and a resistance band. The band should be looped around the rings to provide the right amount of assistance based on your current strength level.
This exercise is perfect for those progressing towards full ring pull-ups, aiming to improve pulling strength, or wanting to add variety to their pull-up training. The adjustable assistance from the resistance band makes it scalable, whether you’re a beginner or someone looking to refine technique and build endurance. It also engages stabilizer muscles due to the dynamic nature of the rings, adding an extra challenge to your core and grip.
How to Perform the Resistance Band Ring Pull-Up
1. Set Up the Rings and Band
• Adjust the gymnastic rings so they hang at a height where you can fully extend your arms while sitting or kneeling beneath them.
• Loop a resistance band through both rings and ensure it is securely in place. You can also loop the resistance band through a pull-up bar or the anchor point where the rings are attached. The band should provide enough assistance without snapping or slipping.
2. Position Yourself for Assistance
• Step or kneel onto the band with one or both feet, keeping your core engaged. You can also put your knees into the resistance band, the assistance will be slightly lower this way.
• Grip the rings with a neutral grip (palms facing each other) and allow your arms to fully extend at the bottom.
3. Initiate the Pull
• Engage your lats and pull your shoulder blades down before bending your elbows.
• Pull yourself up while keeping the rings close to your body. Your hands should rotate naturally as you ascend.
4. Reach the Top Position
• Pull until your chin clears the rings or your chest touches them, ensuring full contraction of your back muscles.
• Keep your elbows close to your body for better engagement.
5. Lower with Control
• Slowly extend your arms to return to the starting position while maintaining control.
• Avoid letting the resistance band bounce you back up; maintain tension throughout.
Benefits of the Resistance Band Ring Pull-Up
• Progresses You Towards Unassisted Pull-Ups – Helps you develop the necessary strength while refining technique.
• Gentler on the Joints – The rings allow natural wrist and elbow movement, reducing strain.
• Engages Stabilizer Muscles – The instability of the rings challenges your core, grip, and shoulder stability.
• Customizable Assistance – Adjusting the band strength makes it scalable for different fitness levels.
• Improves Pulling Strength and Endurance – Helps build the muscles needed for strict pull-ups and explosive pulling power.
Common Mistakes to Avoid
• Using Momentum – Don’t swing or kip; focus on a controlled pull and descent.
• Not Engaging the Lats – Initiate the movement by pulling the shoulders down before bending your elbows.
• Letting the Band Snap You Back – Control the eccentric (lowering) phase instead of relying on the band to spring you back up.
• Rings Too Far Apart – Keep the rings close to your body for better shoulder positioning.
• Over-Reliance on the Band – Gradually reduce band assistance to ensure progressive strength gains.
Tips for the proper execution of Resistance Band Ring Pull-Up
Keep your core tight throughout to prevent excessive swinging.
Use a medium-thickness band to balance assistance and challenge.
Experiment with different hand rotations to find a comfortable pulling path.
Perform slow negatives (lowering phase) to build additional strength.
Reduce band assistance over time to transition toward unassisted ring pull-ups.
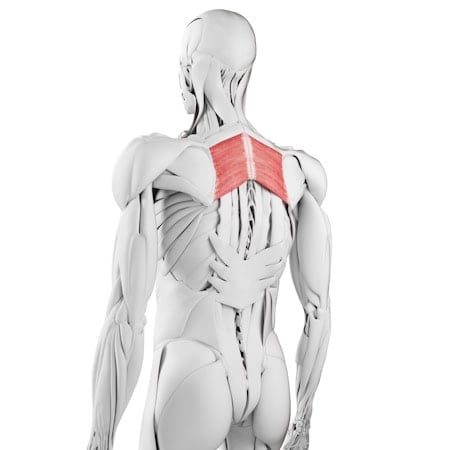
Muscles worked when doing Resistance Band Ring Pull-Up
The Resistance Band Ring Pull-Up primarily targets:
Primary muscles:
•Latissimus dorsi (engaged throughout the pull)
•Biceps brachii (assists in elbow flexion)
•Trapezius and rhomboids (engage to retract the shoulder blades)
Secondary muscles:
•Forearms and grip muscles (activated to hold the rings)
•Core muscles (engaged to stabilize body position)
•Rear deltoids (support shoulder movement)
Primary Muscle(s):
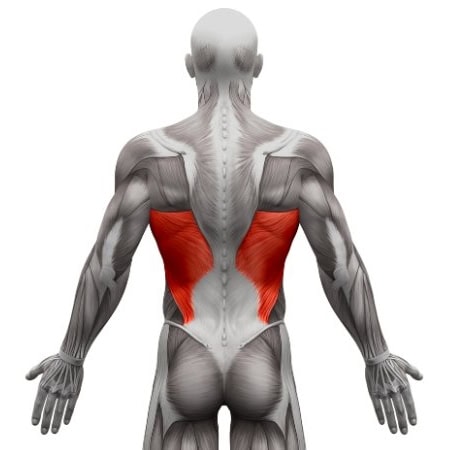
Lats
Secondary Muscle(s):
Rhomboid
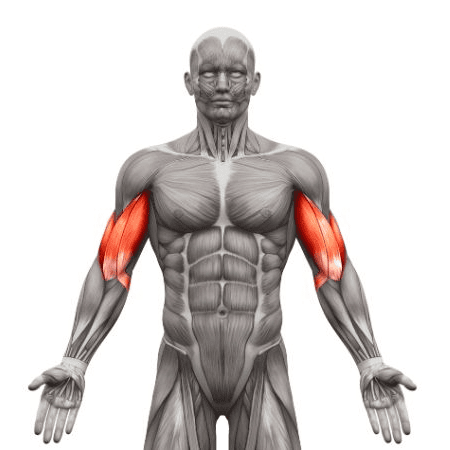
Biceps
Equipment needed for Resistance Band Ring Pull-Up

Adjust the difficulty of Resistance Band Ring Pull-Up
How to make Resistance Band Ring Pull-Up harder?
How to make Resistance Band Ring Pull-Up easier?
How to make Resistance Band Ring Pull-Up harder?
To make Resistance Band Ring Pull-Up harder:
-
Use a thinner resistance band or remove it entirely.
-
Perform slow, controlled reps, emphasizing the eccentric phase.
-
Add a pause at the top to increase time under tension.
-
Try L-sit pull-ups to engage the core even more.
-
Perform Archer Pull-Ups by shifting more weight onto one arm at a time.
How to make Resistance Band Ring Pull-Up easier?
To make Resistance Band Ring Pull-Up easier:
-
Use a thicker resistance band for more assistance.
-
Perform eccentric-only reps (jump to the top and lower slowly).
-
Set the rings lower and use a foot-assisted pull-up from the floor.
-
Start with a slight tuck position to reduce leverage.