
Tucked Back Lever
How to do Tucked Back Lever?
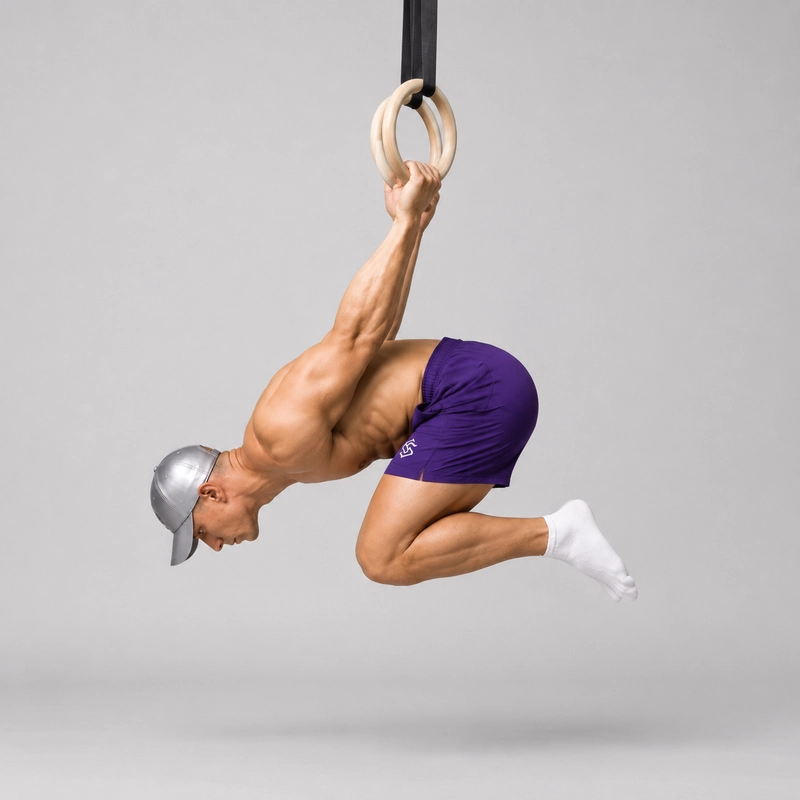
The tucked back lever, also called the tuck back lever, is a static calisthenics exercise in which you suspend your torso horizontally beneath a pull-up bar or gymnastics rings while keeping your knees close to your chest. Tucking the legs shortens the lever created by your body, making this the most accessible dedicated back lever progression.
This exercise bridges the gap between controlled inversion exercises such as the skin the cat or an inverted hang on rings and more extended positions such as the one-leg back lever. It teaches you to maintain straight arms, active shoulders and full-body tension while gradually becoming comfortable with the loaded shoulder-extension position used in a back lever.
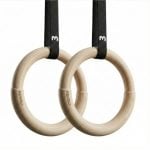
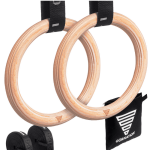
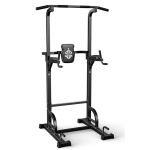
You can perform the tucked back lever on a fixed pull-up bar or gymnastics rings. A bar provides a stable grip, while rings can rotate to accommodate your wrists but require additional stabilization. Before attempting the hold, you should be able to enter and leave an inverted tuck under control without shoulder or elbow discomfort.
The tucked position reduces the leverage demand, but it does not remove the considerable load placed on the shoulders and arms. Research concerning shoulder loading and injuries in gymnastics highlights the importance of managing repeated high-force gymnastics training carefully. Progress gradually, avoid forcing your available shoulder range and stop if you experience sharp pain, tingling or a sudden pulling sensation around the shoulder, elbow or biceps.
Tips for the proper execution of Tucked Back Lever
Warm up your shoulders, elbows and wrists with controlled hanging and rotation exercises before attempting loaded back lever holds.
Practise over a mat and use a setup that allows you to place your feet down safely if you lose control.
Pull your knees firmly toward your chest to create the shortest and most manageable lever.
Lock your elbows before lowering into the hold and keep them straight until you begin the exit.
Press actively through your hands and keep your upper back broad instead of hanging passively from your shoulders.
Lower slowly from the inverted tuck so you can stop at the horizontal position without swinging past it.
Use short, technically clean holds with enough rest to repeat the same position rather than attempting maximum-duration holds.
Record the exercise from the side to check whether your shoulders and hips are approximately level.
End the hold as soon as your hips drop, your arms bend or you can no longer control your shoulder position.
Muscles worked when doing Tucked Back Lever
The tucked back lever is a coordinated straight-arm isometric exercise rather than an isolated back or core movement. The muscles surrounding the shoulders create and stabilize the lever position, while the arms, torso and hips maintain the compact body shape.
Primary Muscles
- Anterior deltoids: The front of the shoulders works to control the loaded shoulder-extension position and prevent the torso from rotating downward.
- Pectoralis major: The chest contributes to shoulder control and helps create the force needed to support the torso behind the arms.
- Biceps brachii: The biceps crosses both the elbow and shoulder and remains under considerable tension while assisting with shoulder and arm stability.
- Latissimus dorsi and teres major: These muscles contribute to shoulder stability and help control the entry, hold and exit.
Secondary and Stabilizing Muscles
- Triceps: The triceps maintains elbow extension and helps preserve the straight-arm position.
- Serratus anterior, trapezius and rotator-cuff muscles: These muscles coordinate the shoulder blades and stabilize the shoulder joints under load.
- Rectus abdominis, transverse abdominis and obliques: The abdominal muscles keep the knees close to the torso and resist unwanted movement through the spine.
- Spinal erectors and glutes: These muscles help control the hips and torso, although their leverage demand is lower than in more extended back lever variations.
- Forearms and hand muscles: The grip muscles secure your connection to the bar or rings throughout the exercise.
Because the knees remain close to the chest, the tucked back lever places less leverage demand on the shoulders and posterior chain than the one-leg back lever. Moving the knees away from the torso progressively increases the torque that the upper body must resist.
Primary Muscle(s):

Anterior delt

Middle chest
Secondary Muscle(s):

Biceps
Equipment needed for Tucked Back Lever
Adjust the difficulty of Tucked Back Lever
How to make Tucked Back Lever harder?
How to make Tucked Back Lever easier?
How to make Tucked Back Lever harder?
To make Tucked Back Lever harder:
-
Gradually increase the duration of each hold while maintaining the same horizontal position and straight-arm technique.
-
Move your knees slightly away from your chest to progress from a tight tuck to an advanced tuck back lever.
-
Perform slow repetitions between the inverted tuck and the horizontal tucked back lever.
-
Pause at several angles during the lowering phase before reaching the final horizontal hold.
-
Progress to the one-leg back lever once you can consistently control the advanced tuck position.
How to make Tucked Back Lever easier?
To make Tucked Back Lever easier:
-
Practise a stable inverted tuck without lowering your torso toward horizontal.
-
Lower only partway from the inverted tuck and return before your elbows bend or your shoulders lose control.
-
Keep your knees compressed as tightly against your chest as possible to minimize the length of the lever.
-
Use a spotter to support your hips and help you find the horizontal position with less bodyweight resistance.
-
Build confidence with slow skin-the-cat repetitions and brief, pain-free pauses at manageable shoulder angles.
-
Practise on a low bar or low rings so your feet can reach the floor quickly when you need to exit.
