
Bar False Grip Hang
How to do Bar False Grip Hang?
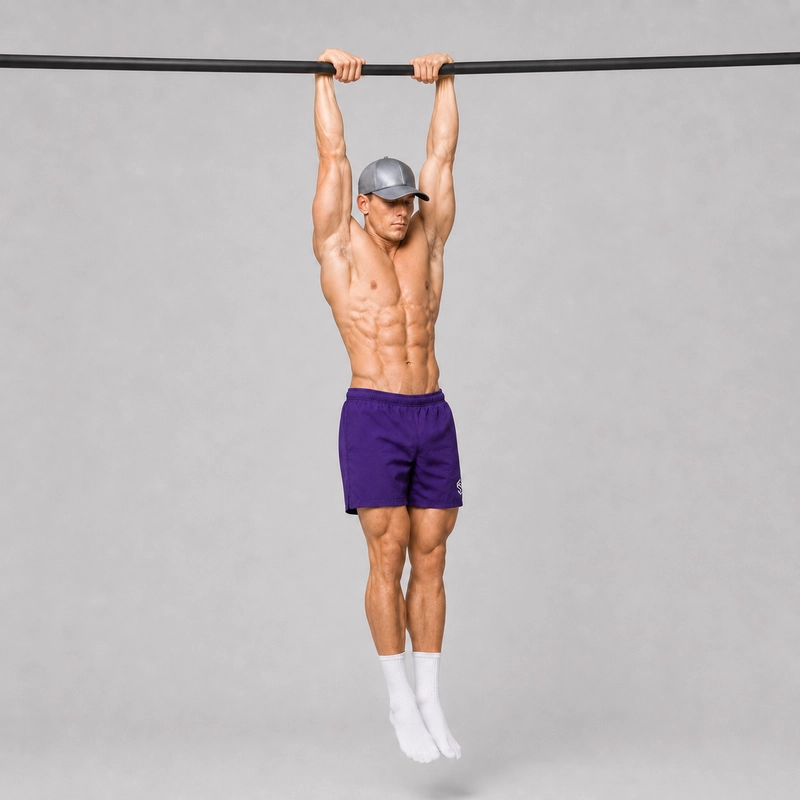
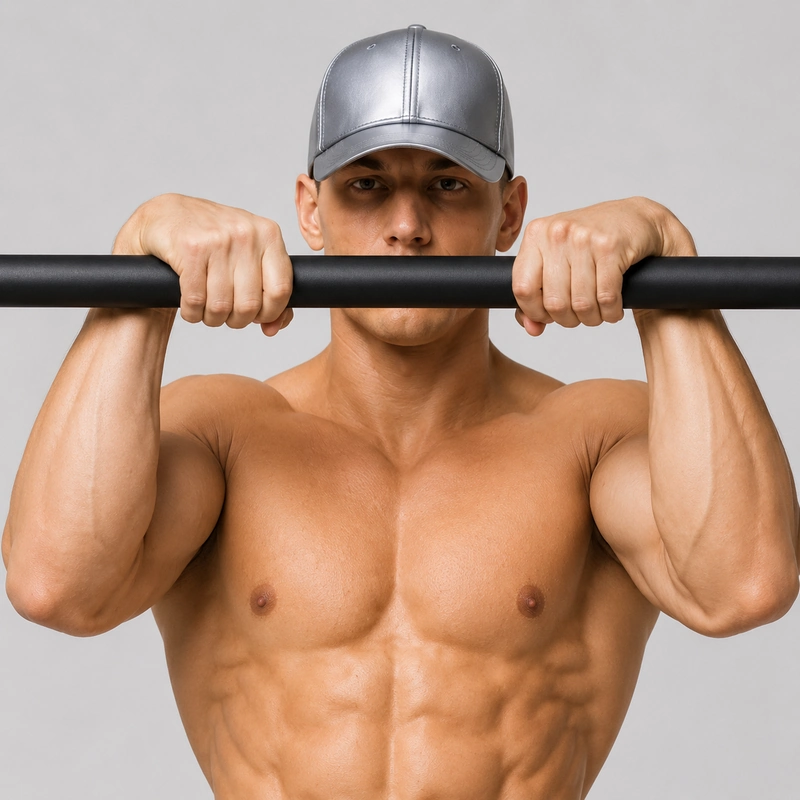
The bar false grip hang is an isometric grip exercise in which you hang from a pull-up bar with the heel of each palm positioned over the bar and the wrists flexed above it. Instead of supporting your weight mainly through the fingers with the wrists below the bar, as in a conventional dead hang, the false grip creates a deeper wrist-over-bar position.
This exercise primarily develops position-specific strength and endurance in the hands, finger flexors and wrist flexors. It also teaches you to maintain the same hand position as your elbows straighten, which is usually the most difficult part of learning a full false grip. The shoulders and trunk provide supporting stability, but this remains a grip drill rather than a replacement for pull-ups or other back-strength exercises.
A bar false grip should not be confused with a slight overgrip. In an overgrip, the knuckles are angled over the bar but the wrist remains mostly below it. In a full false grip, the lower palm is rolled much farther over the bar and the wrist itself finishes above or approximately level with its top surface.
Bar False Grip Hang vs Ring False Grip Hang
The bar and ring variations share the same wrist-over-hand concept, but they are not interchangeable. A fixed bar keeps both hands in a pronated position at a fixed width and creates concentrated pressure across the lower palms. Gymnastics rings can rotate independently and normally run diagonally from the palm toward the wrist, allowing the hands to change from pulling to supporting during a ring muscle-up.
Use the separate ring false grip hang when your goal is the ring false grip pull-up, ring muscle-up transition or complete ring muscle-up. An external ring muscle-up progression from CrossFit likewise identifies the false grip and the change from wrist flexion to extension as specific parts of the ring transition.
Is a False Grip Required for a Bar Muscle-Up?
No. A full false grip can reduce the amount of wrist turnover required by certain slow or strict bar techniques, but it is not required for every bar muscle-up. The standard bar muscle-up can be performed with a secure overhand grip, sufficient pulling height and a coordinated wrist turnover above the bar.
Train this hang when you specifically want stronger false-grip pulling, find it difficult to keep your wrists above the bar, or intend to use a deeper grip during controlled transition work. Do not treat a particular false-grip hold time as a universal prerequisite for learning the bar muscle-up.
Readiness and Equipment
You should be able to support at least part of your bodyweight from a pull-up bar without hand, wrist, elbow or shoulder pain. A full-bodyweight dead hang is useful preparation, but beginners can practise the exact false-grip position with their feet supported from the first session.
- Use a stable pull-up bar that will not rotate or shift during the hold.
- Place a secure box or step beneath the bar so you can establish and release the grip without jumping.
- Choose a box height that lets you reach the bar comfortably with your elbows bent.
- Make sure the bar and your hands are dry, and use a small amount of chalk only when it is permitted.
- Prepare the hands, forearms and wrists with controlled movements such as those in the wrist warm-up routine.
How to Do the Bar False Grip Hang
1. Establish the hand position
- Stand on the box and take an overhand, approximately shoulder-width hand position with your palms facing away from you.
- Place the fleshy heel of each palm over the top of the bar so the contact point is close to the wrist crease rather than at the base of the fingers.
- Roll both hands forward until the knuckles angle forward and downward and the wrists sit above or approximately level with the top of the bar.
- Curl the fingers firmly around the underside of the bar without allowing the lower palms to slide backward.
- Oppose the thumbs around the bar when the bar diameter and your wrist position allow a secure closed grip, but do not force the thumbs into a position that opens the hands.
- Check that both wrists have the same amount of flexion and that neither hand is beginning from a shallower grip.
2. Transfer your weight gradually
- Brace your abdominal muscles, bring your legs together and remove any movement from the box or bar.
- Maintain gentle shoulder tension while allowing the shoulder blades to elevate naturally as the arms move overhead.
- Slowly bend your knees or lower your body from the box so that progressively more weight passes through the hands.
- Pause while the feet are still supported if you need to correct either wrist before committing more weight.
- Lift the feet completely only when both hands feel secure and the bar remains against the heel of each palm.
3. Hold the full position
- Gradually straighten the elbows without allowing either wrist to roll underneath the bar.
- Keep the head neutral, the ribs controlled and the legs quiet beneath or slightly in front of the bar.
- Breathe normally and maintain only enough whole-body tension to prevent swinging or twisting.
- Continue for the planned duration while monitoring the position of both hands rather than simply watching the timer.
- End the hold as soon as the bar rolls toward the fingers, one wrist drops below the other or you can no longer control the shoulders.
- Return both feet to the box, remove your bodyweight from the hands and then release the bar.
Bar False Grip Hang Completion Standard
- Both hands begin at approximately the same width and use matching wrist positions.
- The bar remains against the lower palm near the heel of each hand.
- Both wrists remain above or approximately level with the top of the bar.
- The elbows are fully extended in the complete version of the exercise.
- The feet remain clear of the floor or box for the prescribed hold.
- No jump, kip, leg swing or twisting is used to maintain the position.
- The shoulders remain controlled without being aggressively forced down and back.
- The athlete returns to the box before opening the hands.
A feet-assisted hold and a slightly bent-arm hold are valid regressions, but they should be recorded as assisted variations rather than counted as the full straight-arm exercise.
Benefits of the Bar False Grip Hang
- Develops false-grip endurance: The wrist and finger flexors work isometrically to resist the hand being pulled back into a conventional grip.
- Improves hand-position awareness: Supported practice teaches you to distinguish a true wrist-over grip from a shallow overgrip.
- Prepares the straight-arm position: The exercise specifically trains the point at which many athletes lose their false grip as the elbows extend.
- Supports false-grip pulling: A stable hang provides a base for bent-arm holds, scapular movements and bar false-grip pull-ups.
- Provides controlled transition practice: Beginning with the wrist above the bar can be useful for selected slow muscle-up and low-bar transition drills.
The primary benefit is grip specificity, not a dramatically different lat or biceps stimulus. Continue training ordinary pull-ups, high pulls and transition drills according to the skill you want to achieve.
Common Mistakes
- Using only a deep overgrip: Knuckles above the bar do not make it a full false grip if the wrist and heel of the palm remain underneath.
- Trying to adjust while hanging: Establish the entire hand position while your feet are supported because meaningful adjustment becomes much harder under full load.
- Jumping into the hold: A jump loads the wrists suddenly and makes asymmetrical placement more likely.
- Allowing one wrist to roll first: Uneven grip depth can rotate the torso and concentrate the load on one arm.
- Forcing straight elbows immediately: Use foot assistance or a slight elbow bend until you can extend the arms without losing the wrist position.
- Pinning the shoulders down: Some scapular elevation is normal overhead, so use controlled tension instead of forcing the shoulders away from the ears.
- Continuing after the grip changes: Once the bar rolls into the fingers, the set has become a conventional hang.
- Assuming it guarantees a muscle-up: The grip does not replace high pulling strength, transition technique or pressing strength.
How to Program the Bar False Grip Hang
Practise the exercise after your general warm-up and before demanding pull-ups or other work that fatigues the hands. A practical starting point is three to five sets of five to fifteen seconds with enough foot assistance to preserve the exact wrist position and approximately sixty to 120 seconds of rest between sets.
Progress one variable at a time by reducing assistance, straightening the elbows or increasing clean hold time. When you can repeat the full position without either wrist rolling underneath, progress to small scapular movements, bent-arm false-grip holds or controlled bar false-grip pull-ups.
Safety and Discomfort
Firm pressure against the heel of the palm and muscular fatigue in the forearms can occur, but pain is not the objective. Stop and unload the hands if you experience sharp or electrical pain, tingling, numbness, loss of hand control or skin pinching that may lead to tearing.
Do not rely on chalk to hold an incorrectly positioned grip, and do not continue a set once you are unable to return safely to the box. Anyone with a current hand, wrist, elbow or shoulder injury should obtain individual guidance from an appropriate healthcare professional before loading this position.
Tips for the proper execution of Bar False Grip Hang
Set the grip from a stable box before transferring bodyweight to your hands.
Place the fleshy heel of each palm over the bar instead of hanging from the fingers.
Roll both hands equally until the wrists sit above the bar and the knuckles angle forward and down.
Close the fingers firmly and wrap the thumbs when the bar diameter and wrist position allow a secure closed grip.
Transfer your weight gradually so you can correct the grip while your feet are still supported.
Keep gentle shoulder tension without aggressively forcing the shoulder blades down and back.
Brace your trunk and keep your legs quiet to prevent swinging or twisting.
End the set as soon as either wrist drops underneath the bar or the bar rolls toward the fingers.
Use chalk sparingly when permitted, but never use it to compensate for an incorrectly positioned grip.
Return both feet to the box before opening your hands.
Stop the exercise if you experience sharp pain, tingling, numbness or loss of hand control.
Muscles worked when doing Bar False Grip Hang
The bar false grip hang primarily challenges the muscles that keep the fingers closed and the wrists flexed over the bar. The shoulders and trunk provide supporting stability, but their involvement depends on how actively the hang is performed.
Primary Muscles
- Finger flexors: The flexor digitorum profundus and flexor digitorum superficialis contract isometrically to keep the fingers closed around the bar.
- Wrist flexors: The flexor carpi radialis and flexor carpi ulnaris resist the bodyweight that attempts to pull the wrists back underneath the bar.
- Intrinsic hand muscles: These smaller muscles help maintain contact and control pressure around the bar.
Secondary Muscles
- Forearm extensors and brachioradialis: These muscles co-contract with the flexors to stabilize the forearm and wrist.
- Latissimus dorsi, rotator cuff, trapezius and serratus anterior: These muscles help control the shoulder girdle during the overhead hang.
- Abdominals, obliques and glutes: These muscles limit swinging, twisting and excessive spinal extension.
- Biceps and brachialis: Their contribution remains relatively small with straight elbows but increases during bent-arm regressions.
Because the elbows do not move and the shoulders perform little movement, this exercise should be classified primarily as an isometric forearm and grip exercise rather than a complete back-strength exercise.
Primary Muscle(s):
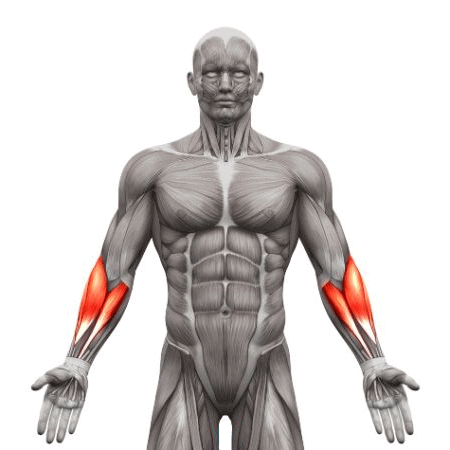
Forearm
Secondary Muscle(s):
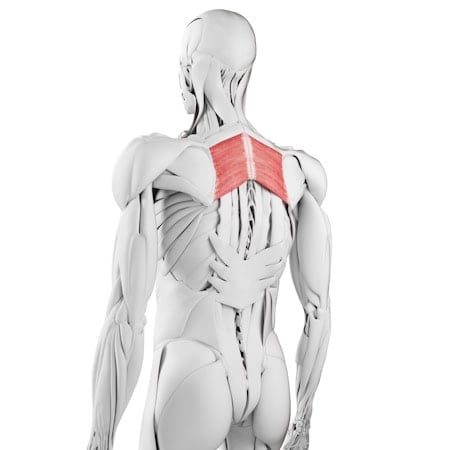
Rhomboid

Trapezius
Equipment needed for Bar False Grip Hang
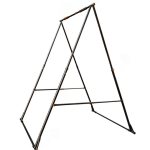
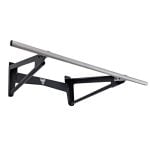
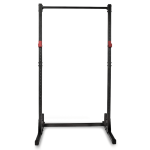
Adjust the difficulty of Bar False Grip Hang
How to make Bar False Grip Hang harder?
How to make Bar False Grip Hang easier?
How to make Bar False Grip Hang harder?
To make Bar False Grip Hang harder:
-
Gradually reduce pressure through the feet until you can support your full bodyweight.
-
Extend the elbows farther until you can maintain the false grip in a complete straight-arm hang.
-
Increase the hold duration while preserving identical hand placement from beginning to end.
-
Perform controlled scapular pulls without allowing either wrist to move underneath the bar.
-
Add a bent-arm false-grip hold after completing the straight-arm position.
-
Perform strict bar false-grip pull-ups while maintaining the same wrist position through the full range.
-
Practise controlled low-bar transition drills without releasing or readjusting the hands.
-
Add a small external load only after repeated bodyweight holds remain secure and pain-free.
How to make Bar False Grip Hang easier?
To make Bar False Grip Hang easier:
-
Use a low bar and keep both feet on the floor while practising the complete hand position.
-
Stand on a secure box and support part of your bodyweight through your legs.
-
Begin with slightly bent elbows and gradually straighten them without allowing the wrists to roll underneath.
-
Practise one wrist at a time while both feet remain fully supported and the other hand stabilizes your body.
-
Perform several short holds instead of continuing until the grip slips.
-
Use a comfortably sized, dry bar that you can close your fingers around securely.
